
 TUTORIAL
Every time a WordPress page shows a profile picture, it sends a hashed version of that person’s email address to Gravatar and displays whatever comes back. For the overwhelming majority of your users, what comes back is a grey silhouette — because they have never signed up for a Gravatar account and probably never will.
You can replace that entirely: let people upload a photo from their own device, store it in your own media library, and have it appear everywhere WordPress would otherwise render an avatar. This guide walks through the whole switch, start to finish.
Three reasons come up again and again:
Go to Plugins → Add New, search for Advanced User Avatar, install and activate it. It needs WordPress 6.0 or newer and PHP 7.4 or newer, and nothing else — WooCommerce, BuddyPress and the rest are optional integrations, not requirements.
Once it is active, the settings live at Users → Users Avatar. Not under Settings, which is where most people look first.
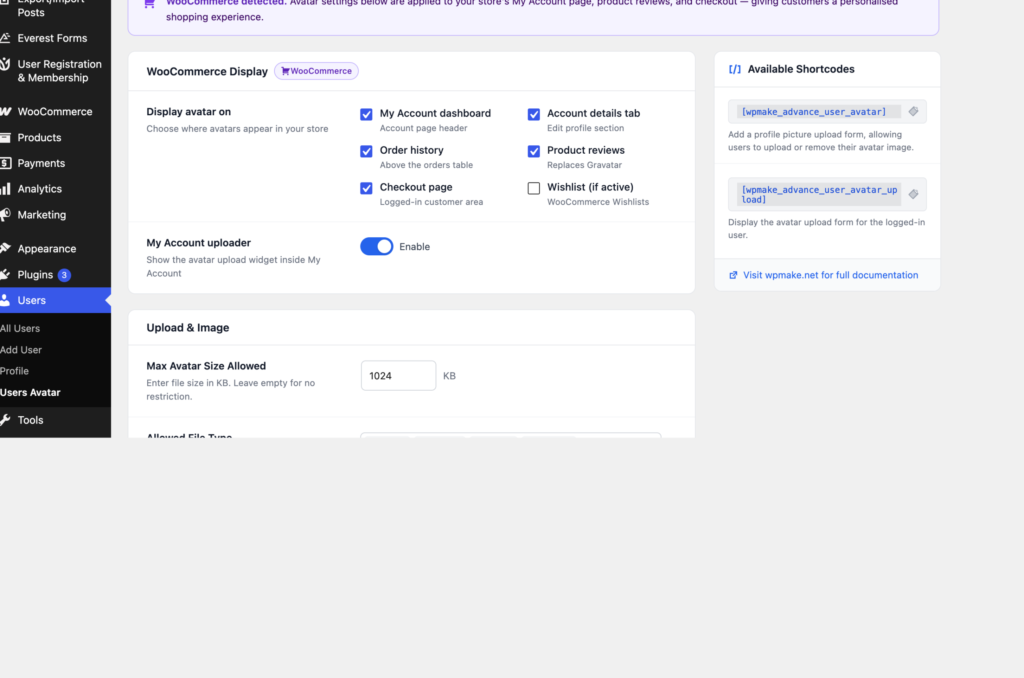
Activation alone is enough for avatars to start working. Any user who sets a photo from their WordPress profile screen will have it used site-wide immediately. The next step is only about giving people a front-end page where they can do it themselves.
There are three routes, and you only need one.
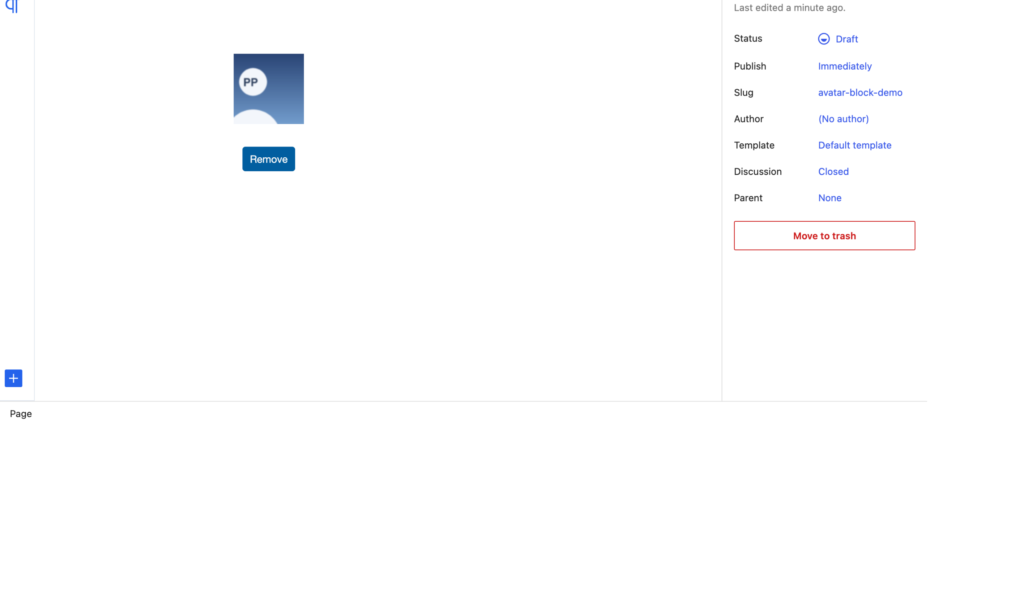
Edit any page, click the inserter, search for Advanced User Avatar and drop it in. The block renders the real widget inside the editor, so you can see exactly what your users will get before you publish.
If you use a page builder, or you want the widget inside a template, two shortcodes work anywhere shortcodes do:
[wpmake_advance_user_avatar_upload]   the full upload form
[wpmake_advance_user_avatar] the current user's avatar, display onlyEvery user can already set their own picture at Users → Profile, and administrators can set one for somebody else from the Manage Avatars tab. If your users never see the front end — an internal site, an editorial team — that may be the whole job.
Whichever route you pick, the widget only ever renders for a logged-in user, and it only ever changes that person’s own picture. A logged-out visitor sees nothing at all, and none of the plugin’s scripts or styles are loaded for them.

Open the Upload & Image section and set your limits. The defaults are sensible, but two are worth a moment’s thought:
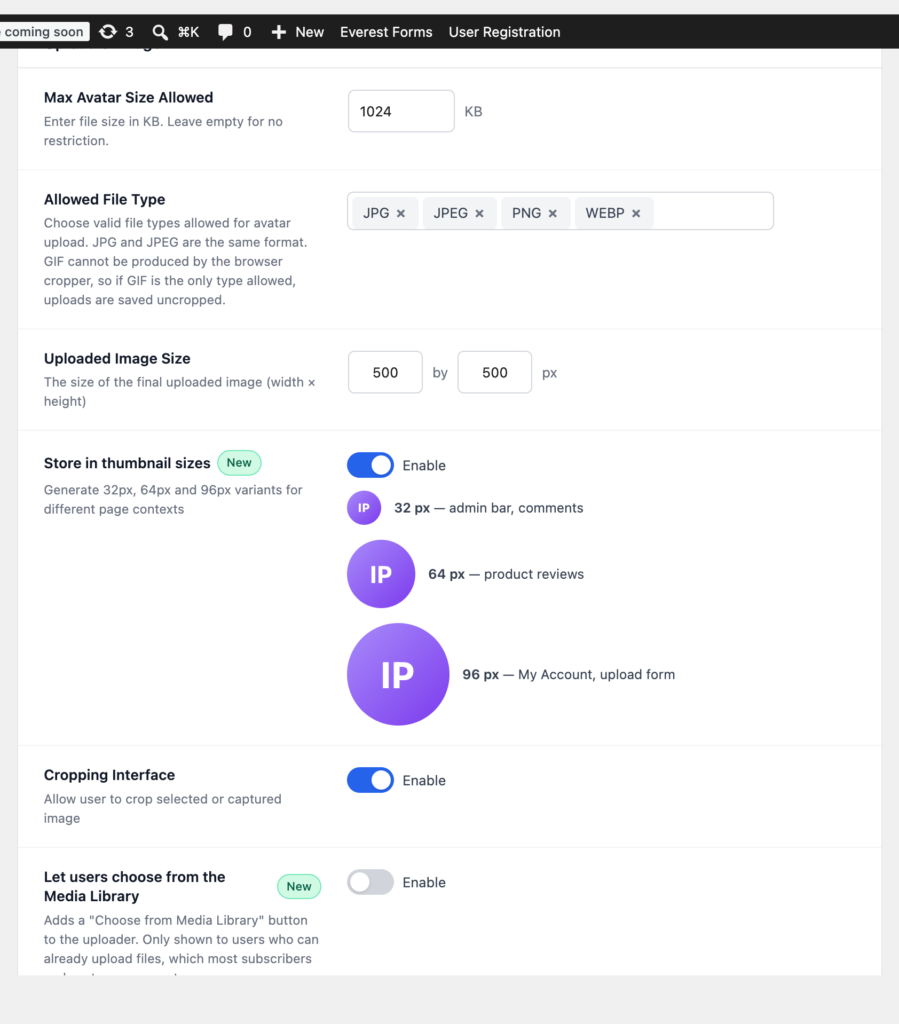
Leave Store in thumbnail sizes switched on. It generates 32, 64 and 96 pixel square copies on upload, so a 32-pixel avatar in the admin bar downloads a couple of kilobytes rather than your 500-pixel original. On a page with a dozen avatars, that difference is substantial.
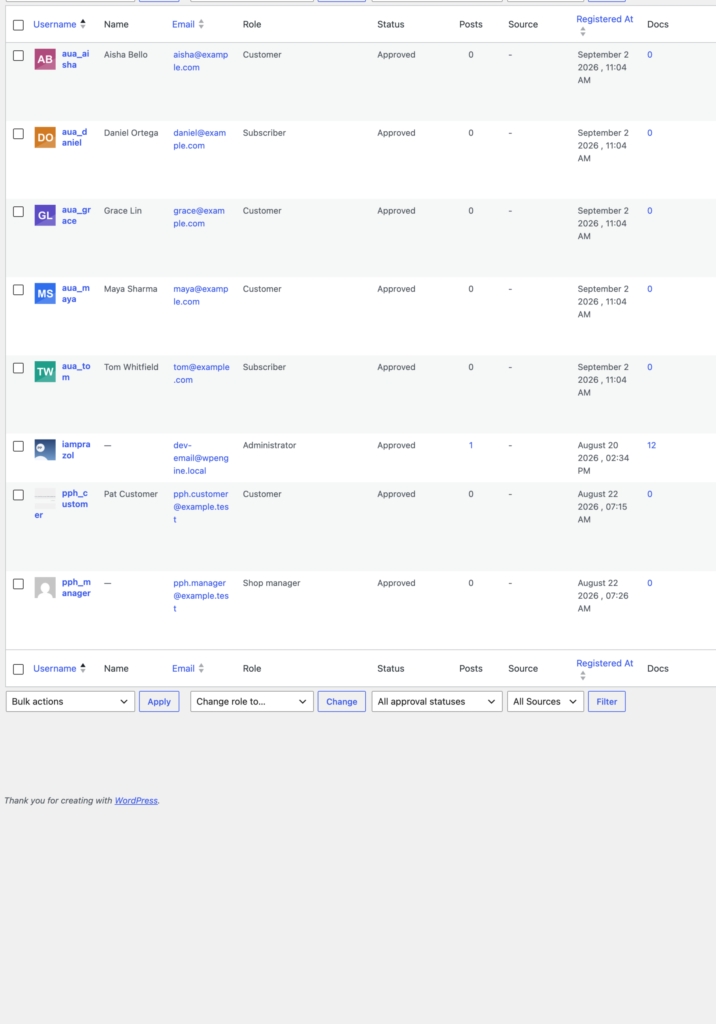
Upload a photo as a test user and then look around your own site. The picture should appear anywhere WordPress renders an avatar, with no further configuration:
Comments are the clearest demonstration, because you usually get a side-by-side comparison for free: a commenter who uploaded a photo shows their photo, and one who did not still falls back to Gravatar exactly as before.
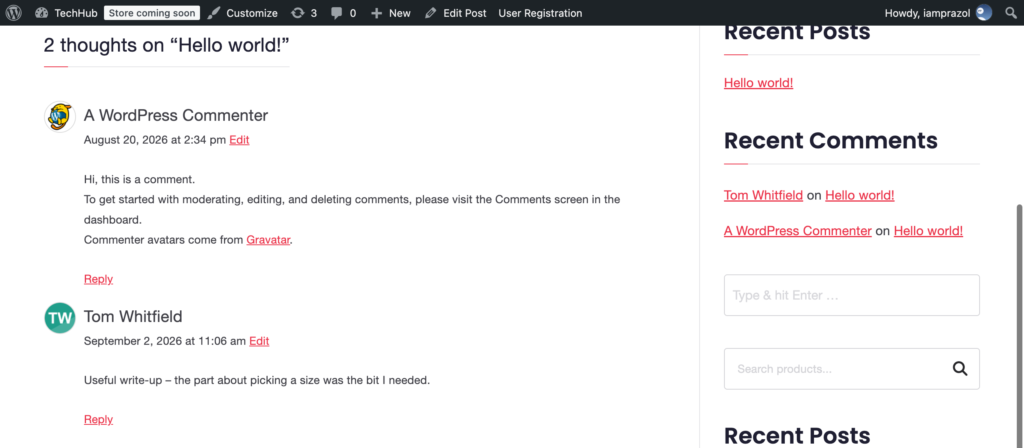
Nothing. They are completely unaffected: WordPress keeps asking Gravatar for their picture, just as it did before you installed anything. The plugin only steps in when there is a photo to show.
That matters for a gradual rollout. You can install this today, add the uploader to your account page, and let photos accumulate over weeks without a single page ever looking broken in the meantime.
From there it runs itself. Users upload their own photos, the files sit in your own media library, and nothing about a person’s identity has to leave your server for a picture to appear next to their name.