
 USE CASES
With WooCommerce active, Advanced User Avatar adds a WooCommerce Display section to its settings: six independent locations where a customer’s photo can appear, plus a toggle that lets customers change it from My Account. Each is a separate checkbox, and nothing here affects avatars elsewhere on your site.
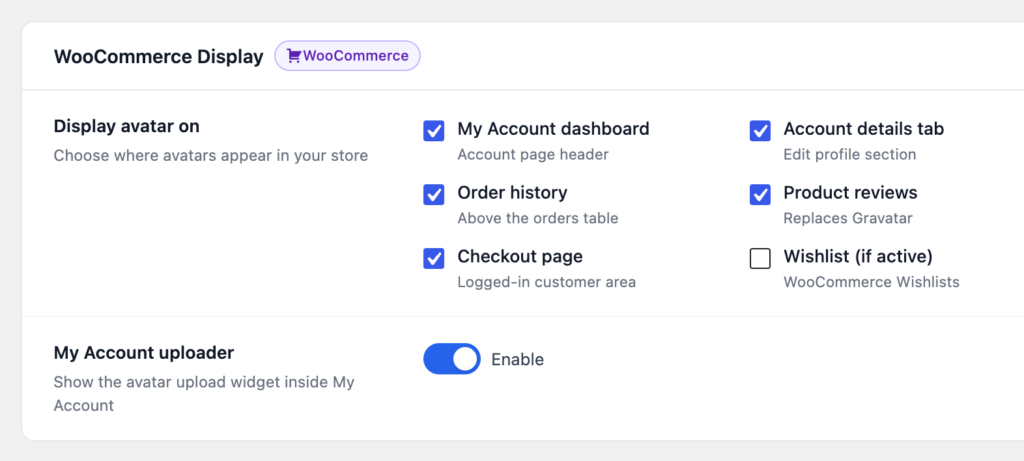
Here is what each one does, with an honest note on which are worth your time.
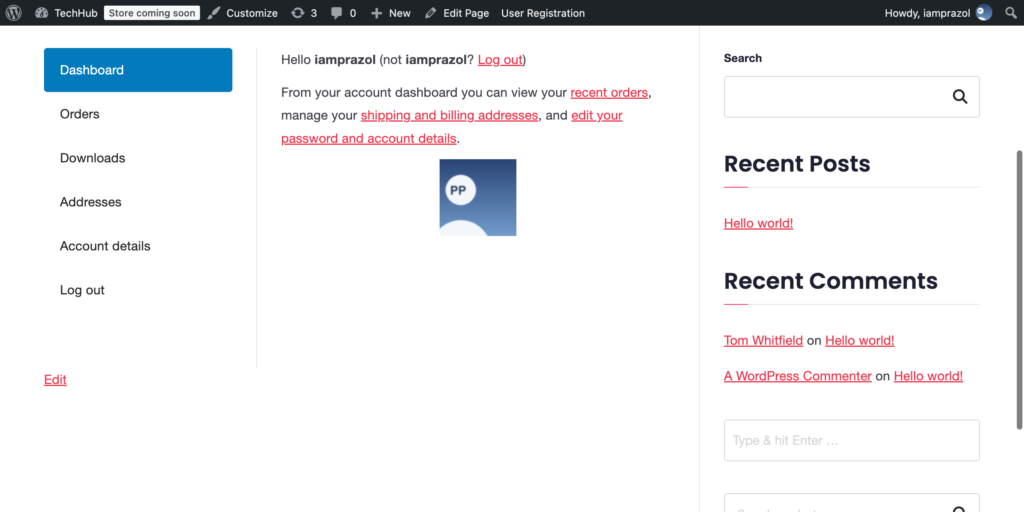
Shows the customer’s photo on the front page of My Account, under the greeting. This is the highest-value of the six for most stores: it is the first thing a returning customer sees, and it makes the account feel like theirs rather than like a form.
Shows the photo above the Account details form. On its own it is a display-only avatar. Its real purpose is as a home for the uploader: switch on My Account uploader as well, and the full upload widget is placed there instead, so customers change their picture on the same form they use for their name and email.
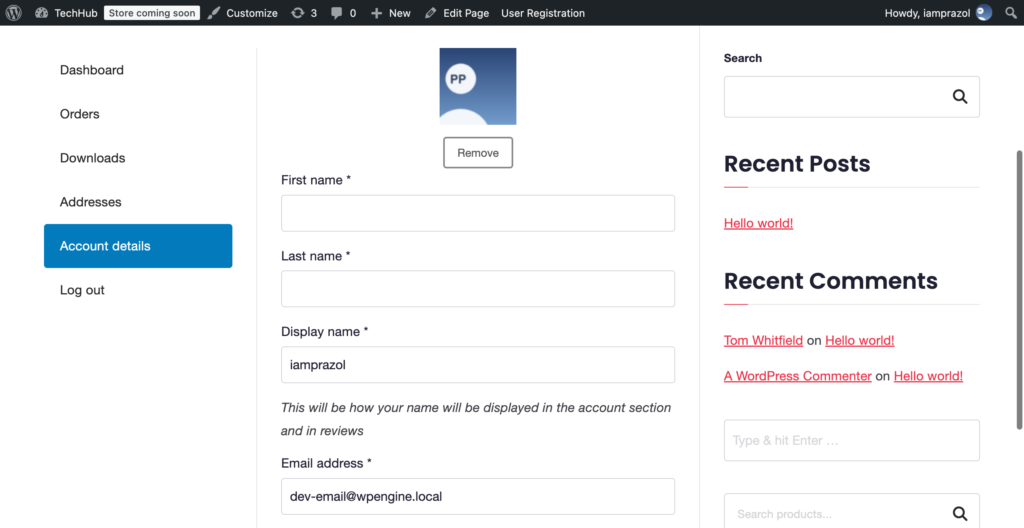
The plugin is careful not to render both: when the uploader is enabled here, the separate viewer is suppressed, because the uploader template already shows a preview.
Shows the photo above the orders table on My Account → Orders. Above the table, not inside it — there is no per-order avatar column.
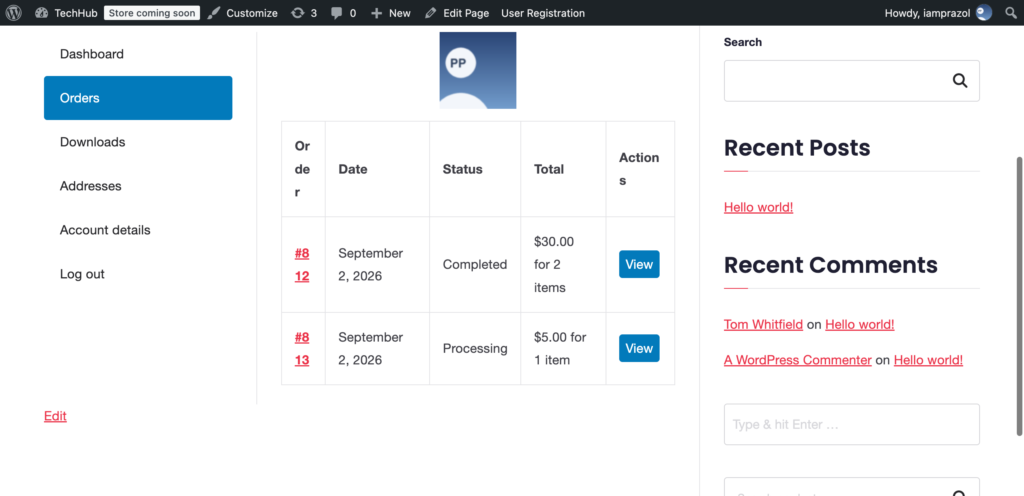
This one is pure polish. If you are being selective, it is the first to leave off.
The only location that faces people who are not logged in, and the most commercially interesting of the six. Reviewers appear as themselves instead of as a silhouette.
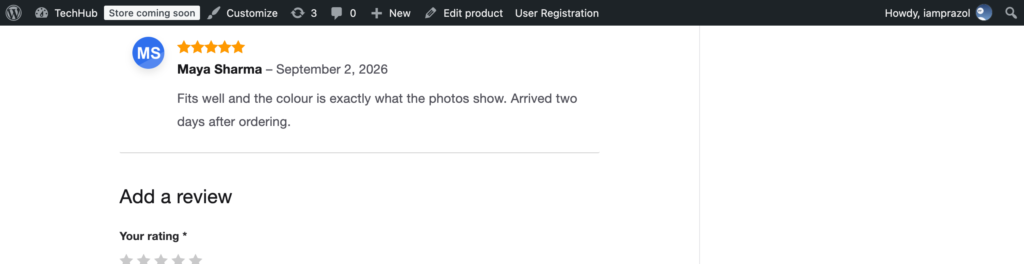
It also behaves differently from the rest when switched off. Clearing any other box simply means no avatar is added; clearing this one hands reviews back to Gravatar, so a review that would have had a Gravatar still gets one. That is deliberate — public review content should not silently lose an avatar it would otherwise have had.
Shows the photo above the customer detail fields at checkout, for a logged-in customer. Guests checking out see nothing, which is correct — there is no account to show a picture from.
One important caveat: this location hooks woocommerce_checkout_before_customer_details, which belongs to the classic checkout. If your store uses the newer block-based Checkout block, that hook never fires and the avatar will not appear. Everything else on this list works with either checkout, because none of it is on the checkout page.
Shows the photo above the wishlist title. This one needs YITH WooCommerce Wishlist installed — it hooks that plugin specifically. With no wishlist plugin active the setting has nothing to attach to and quietly does nothing, which is why it is safe to leave ticked on a store that might add one later.
Underneath the six checkboxes sits the toggle that decides whether customers can change their own photo from the store at all. On means the full upload widget appears on Account details. Off means they can see their photo there but not change it, and you will want to place the uploader somewhere yourself with the block or shortcode.
For almost every store, on is the right answer. A display location with no way to set the picture is a slot that stays empty.
Before 2.0.0 there was a single WooCommerce toggle rather than six locations. That setting is migrated for you: a store that had it switched on comes out with My Account dashboard and Account details ticked and the uploader on, which is exactly what the old toggle used to do. Nothing changes visually until you decide to change it.
That combination gives customers one obvious place to set a photo and two places where it visibly pays off — which is the whole loop you need before any of the rest is worth configuring.