 TUTORIALS
You want a WordPress post that logged-in users can’t read until a specific date. Not scheduled — scheduled posts go live for everyone. Not password protected — passwords don’t expire. You want content that is published, accessible by URL, but hidden behind a date gate for logged-in users until the clock runs out.
Here’s the exact setup using Content Time Lock.
Go to Plugins → Add New, search for “Content Time Lock,” and install and activate it. No configuration is required before you start — defaults are sensible and you can adjust them at the post level.

Open the post or page you want to restrict. In the block editor, look at the right-hand sidebar — below Document settings, below Categories and Tags, you’ll find a new panel called Time Lock Content.
If you don’t see it, make sure the post is in the full block editor (not Quick Edit), and that the sidebar is open (toggle it with the gear icon top-right).
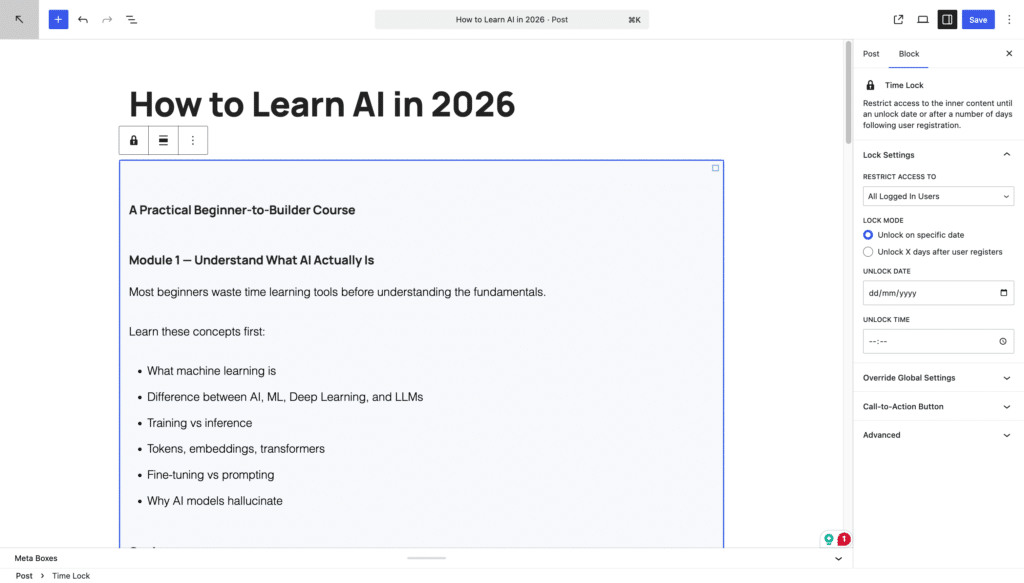
Click into the Time Lock Content panel and set the following:
Enable Time Lock: Toggle this on. The panel expands.
Restrict Access To: Choose “All Logged In Users” to restrict all users regardless of role, or “Choose Specific Roles” to target only certain roles like Subscriber or Customer. For the “restrict logged-in users by date” use case, “All Logged In Users” is typically correct.
Unlock Date & Time: Use the date and time picker to set the exact moment the content becomes visible. This respects your site’s timezone as set in Settings → General. Double-check your timezone setting before using the plugin in production.
Unlock Mode: Choose “Fixed Date” if all users should see the content unlock on the same calendar date. Choose “Days After Registration” if each user should get access a set number of days after their account was created — useful for course sequences and onboarding flows.
Save the post. The lock is now active.
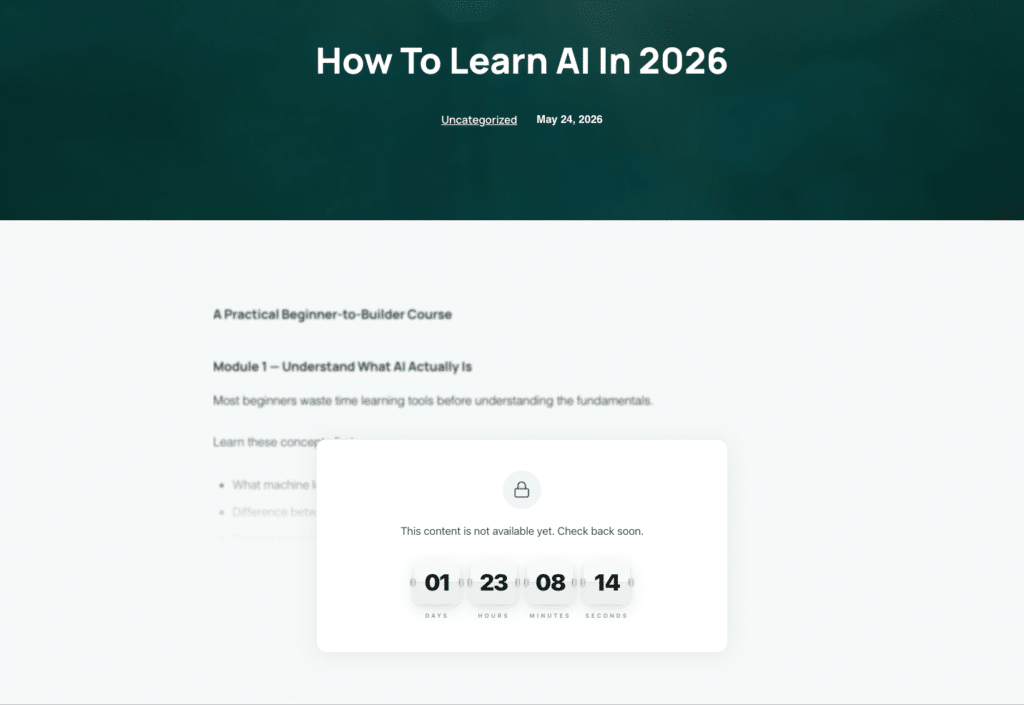
When a logged-in user visits the post before the unlock date, the post content is replaced by your locked message. The post title, featured image, and any elements outside the content area remain visible — only the main content block is hidden.
By default they’ll see the global locked message you set in Time Locker → Settings. If you’ve enabled the countdown timer, they’ll also see a live countdown to the exact unlock time.
To override the global message for this specific post, go back to the Time Lock Content panel and enable Override Global Settings. You can then write a post-specific locked message and optionally add a call-to-action button.
Administrators always see the full post content regardless of the lock. This is intentional and cannot be changed — it means you can always preview, edit, and review locked posts without needing a test account.
To test what a logged-in non-admin user sees, create a second WordPress account with a Subscriber role and log in as that user in an incognito window.

That’s the full setup. One plugin, one panel, one date. Install Content Time Lock and have your first date-restricted post live in under ten minutes.