Repeat-Purchase Stores: The Orders Page as a Revenue Channel
If you sell consumables, the order history is the highest-intent page on your site. Most stores treat it as an archive.

If you sell consumables, the order history is the highest-intent page on your site. Most stores treat it as an archive.
Guest checkout raises conversion and removes every self-service route in one move. Your guests literally cannot see their own order.
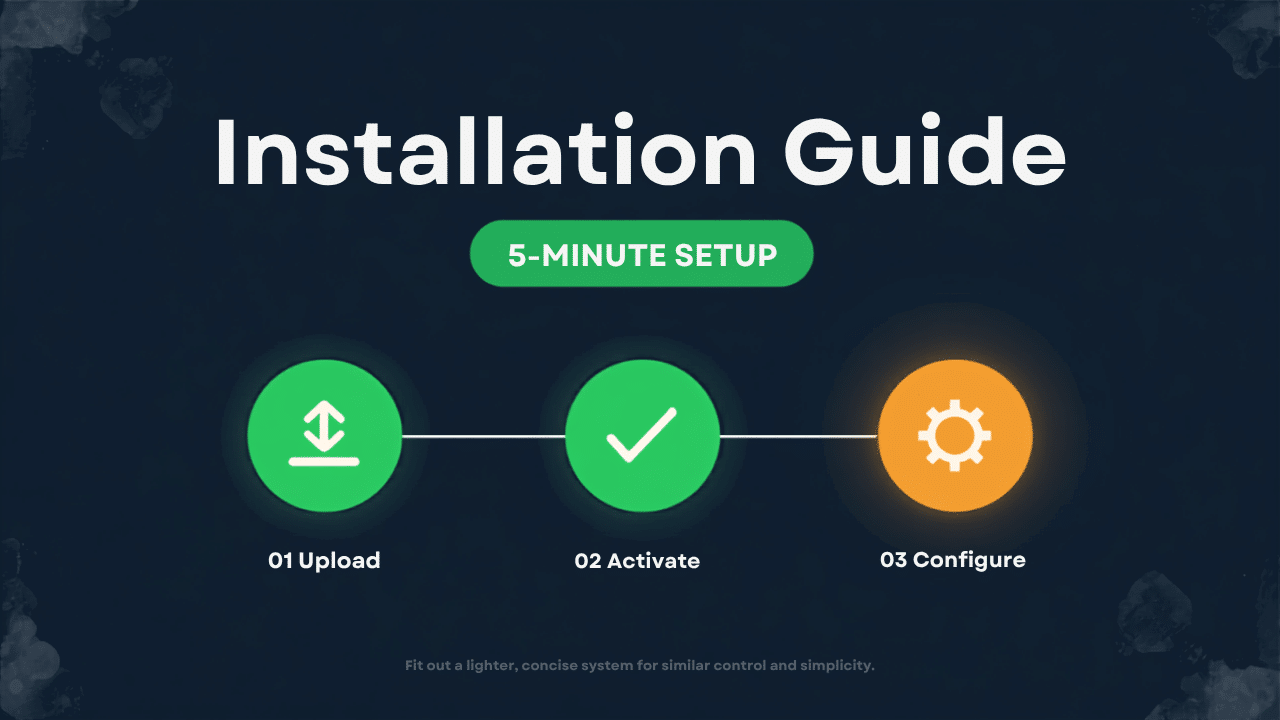
A clean install is the foundation for everything else Post-Purchase Hub does. This guide walks through the whole process, from download to your first live setting, in under five minutes. What you need before you start WordPress 6.3 or newer WooCommerce 8.0 or newer, active and configured The Post-Purchase Hub .zip file Step 1: Upload the plugin Go to Plugins → Add New → Upload Plugin, choose the .zip file, and click Install Now. WordPress handles the extraction automatically — no FTP or file manager needed. Step 2: Activate Click Activate once the upload finishes. Post-Purchase Hub checks for WooCommerce automatically; if it’s missing or outdated, you’ll see a clear notice telling you what to update first. Step 3: Find your settings Head to WooCommerce → Post-Purchase Hub. This is the only settings screen you need — cancellation windows, return policy, email branding, and the store-owner dashboard all live here. First-run checklist Set a store-wide cancellation window Write (or paste) your return policy text Add your logo and brand color to the email templates Place a test order and confirm the timeline shows up on the account page That’s the full install. From here, every setting is optional tuning — the plugin works with sensible defaults the moment it’s activated.
Subscription boxes live and die on renewal trust. If cancelling feels hard, customers dispute the charge instead of asking — and a chargeback costs you far more than a cancellation would have. Why subscription cancellations need to be easy A customer who can’t find a clear way to cancel doesn’t just stay quiet — they call their bank instead. Chargebacks damage your processor standing and cost more in fees than the subscription was worth. Letting customers pause or cancel without a ticket Post-Purchase Hub’s self-service flow works for subscription orders the same way it does for one-time purchases — customers manage their own status from the account page, on their own schedule, without waiting for a reply. Reducing “I forgot to cancel” disputes A renewal reminder email a few days before each billing cycle, paired with an easy cancel button, cuts down on the single most common subscription complaint: being charged for something the customer meant to stop. What this looks like in practice Pause, cancel, and reorder all sit as simple actions on the account page — no phone call, no support form, no waiting for business hours. That’s usually enough to keep a customer from escalating to their bank.
Flash sales bring in orders fast — and cancellations just as fast. Mis-clicks, duplicate orders, and price regret all spike together. Here’s how to handle the surge without falling behind. Why cancellations spike during sales Urgency drives impulse purchases, and impulse purchases drive second-guessing. Add in the mobile checkout mis-taps that happen when a sale page is flooded with traffic, and you get a predictable wave of cancellation requests within the first hour. Set a short, strict window during sale periods A tighter cancellation window — 10 to 15 minutes instead of your usual default — still catches genuine mistakes without leaving your fulfillment team guessing which orders are actually final. You can schedule this as a temporary override for sale days. Batch-reviewing from the dashboard Even with self-service cancellation handling most requests automatically, the store-owner dashboard gives you a single queue to scan for anything that needs a second look — instead of digging through order notes one at a time. After the sale ends Switch the cancellation window back to your normal default once the rush is over. Treating it as a temporary setting, not a permanent policy change, keeps the rest of the year running the way customers expect.
Every November, “Where is my order?” emails spike right alongside sales volume. The cause isn’t usually shipping delays themselves — it’s the silence around them. Why WISMO emails spike every holiday season Carriers get overloaded, fulfillment slows down, and customers who are used to fast shipping start checking in earlier and more often. A static “order confirmed” email from two weeks ago doesn’t answer the question they’re actually asking. Give customers a live answer instead of a static one A live order timeline on the account page answers “where’s my order” without anyone having to type a reply. Customers check the page instead of writing an email — the same information, delivered without a ticket. Setting expectations before they ask Status-based notifications (“Your order is packed and will ship within 2 business days”) work better than a single confirmation email, because they update the customer proactively instead of waiting for them to wonder. The net effect on your inbox This won’t eliminate every support email during a busy season, but it removes the single most common one — freeing up your time for the requests that actually need a human.
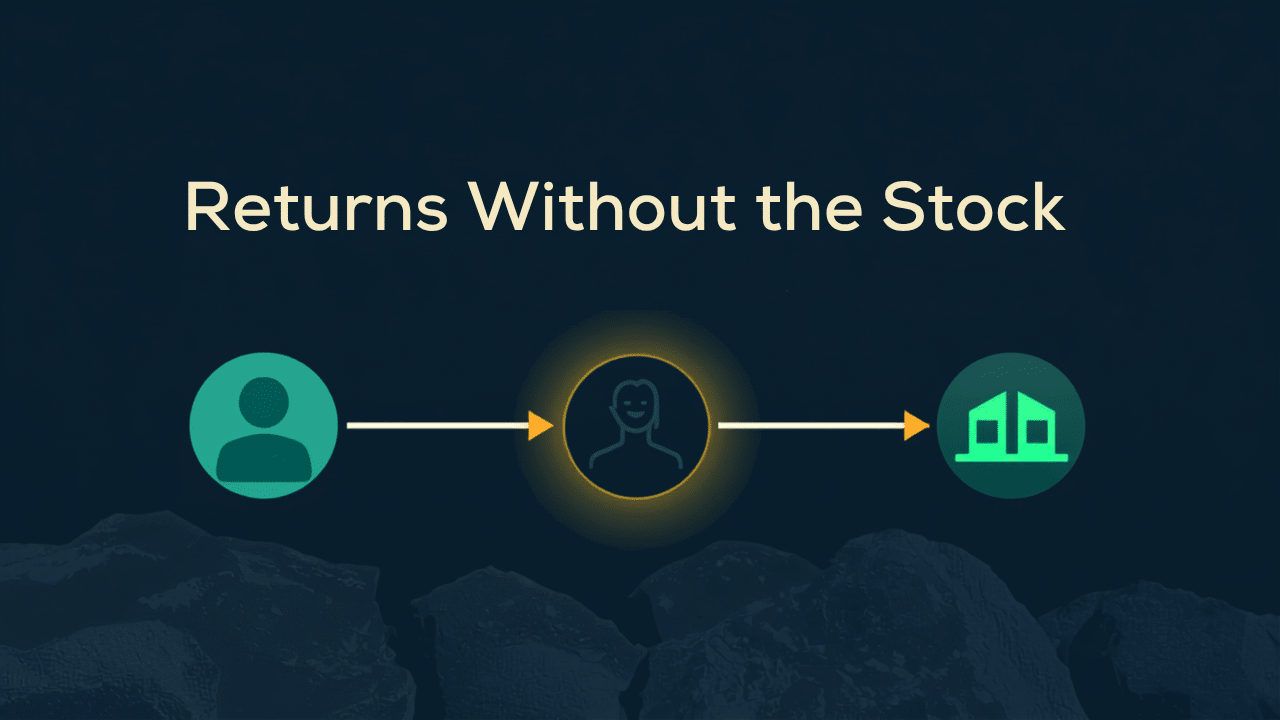
Dropshipping adds an extra link to every return: you don’t hold the stock, so a return request has to travel further before it’s resolved. Here’s how to keep that from becoming a bottleneck. The extra friction dropshippers face A standard return flow assumes you can inspect and restock the item yourself. When a supplier handles fulfillment, every return needs an extra handoff — and that handoff is where requests get lost or delayed. Routing requests to the right step Post-Purchase Hub logs every return request to your store-owner dashboard the moment it’s submitted, with the order and supplier details attached — so you’re not digging through emails to figure out who needs to be looped in. Setting realistic return windows Your return window should account for supplier shipping time, not just your own processing time. A 30-day window that assumes 3-day shipping falls apart if your supplier ships in 2 weeks — build the window around your actual fulfillment chain. Setting expectations with customers Being upfront in your return policy about slightly longer processing times, paired with a live status the customer can check themselves, does more for trust than a shorter window you can’t consistently meet.
Amazon set the bar for what “after checkout” should feel like: constant visibility, easy control, fast resolution. Small WooCommerce stores can’t match Amazon’s logistics network — but they can match the experience. What big retailers actually get right It’s not the speed of delivery that builds trust — it’s the certainty. Customers always know exactly where their order is, and they can cancel or return it themselves without waiting on a reply. The three things customers actually want Visibility — a clear, current order status, not a static “processing” label Control — the ability to cancel, return, or reorder without a support ticket Speed — instant confirmation that an action was received How self-service closes the gap Post-Purchase Hub gives a small store the same core mechanics — a live timeline, self-service cancellation, one-click returns — without needing a warehouse network or a support team. The infrastructure gap stays; the experience gap closes. Where this actually pays off The biggest win isn’t fewer refunds — it’s fewer support tickets and higher repeat-purchase rates. Customers who trust that they’re in control of their own order are more likely to buy from you again.
Manual review keeps you in full control, but it also means every request waits on someone to check it. Auto-approval rules let you keep control where it matters and remove the wait everywhere else. Manual vs. auto-approval: the trade-off Manual review catches edge cases and fraud attempts, but it’s slow and doesn’t scale. Auto-approval is instant and consistent, but it only works well when your conditions are set thoughtfully. Most stores land somewhere in between. Setting conditions From WooCommerce → Post-Purchase Hub → Automation, you can auto-approve requests based on: Order value (e.g., auto-approve under $50) Product category (e.g., always require review for custom orders) Customer history (e.g., auto-approve for customers with no prior disputes) What the dashboard shows Every request still appears in your store-owner dashboard, tagged either “Auto-approved” or “Needs review” — so you keep full visibility even for the requests that never needed your input. A reasonable starting point Start conservative: auto-approve only low-value cancellations, review everything else for a few weeks, then loosen the rules once you’ve seen how requests actually come in. It’s easier to open the gate wider later than to walk back a rule that let something slip through.
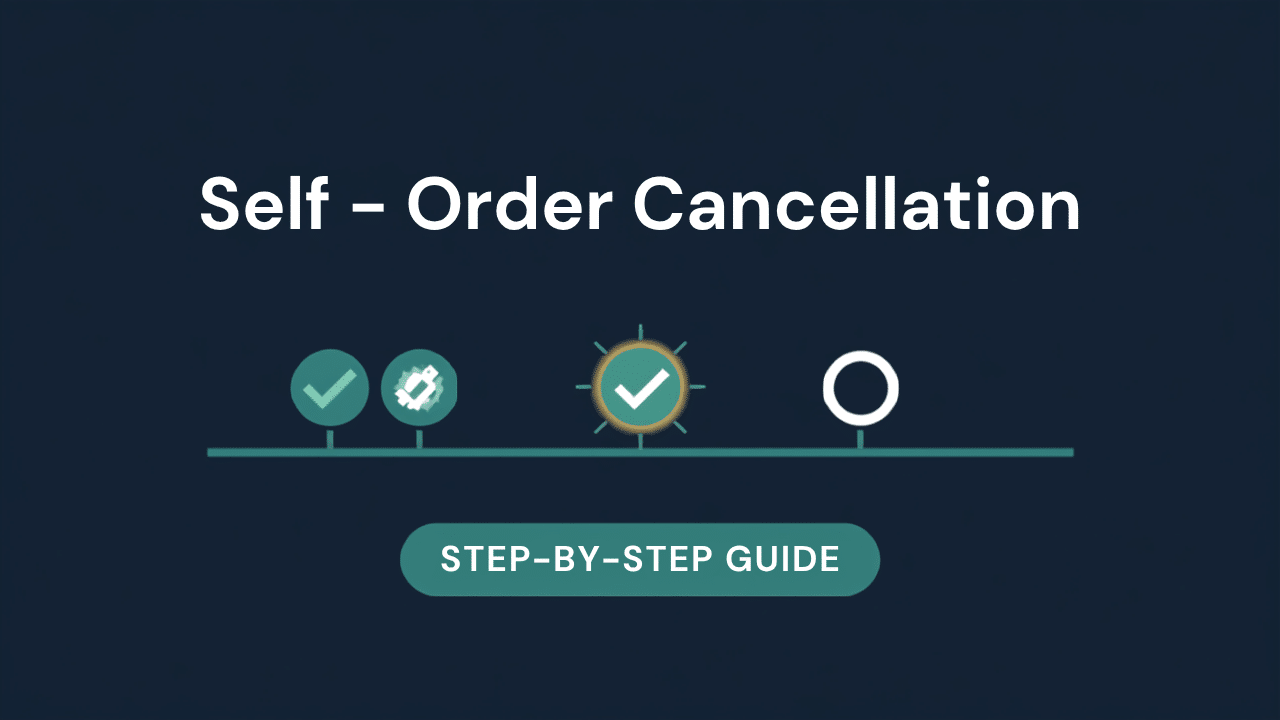
Every cancelled order that lands in your inbox costs you time: read the email, find the order, check if it’s shipped yet, reply, refund, repeat. Post-Purchase Hub moves that entire flow onto the customer’s account page, so most cancellations never touch your inbox at all. Here’s how to set it up. Why manual cancellation handling costs more than you think A single cancellation request usually means a support ticket, a manual order lookup, a refund, and a reply email — often across two or three tools. Multiply that by every order that gets cancelled in a week, and it adds up to hours you could spend anywhere else. Self-service cancellation removes the ticket entirely: the customer cancels, the order updates, and you get a summary instead of a queue. Step 1: Install and activate Post-Purchase Hub From your WordPress dashboard, go to Plugins → Add New → Upload Plugin and select the Post-Purchase Hub .zip file. Once it’s uploaded, click Activate. The plugin detects WooCommerce automatically and adds a new settings page under WooCommerce → Post-Purchase Hub — no separate configuration wizard required. Step 2: Set your cancellation window This is the core setting: how long after checkout can a customer cancel without contacting you? For most physical-goods stores, somewhere between 30 minutes and 24 hours works well — long enough to catch mis-clicks and price regret, short enough that it doesn’t interfere with fast fulfillment. Digital products and made-to-order items usually need a shorter window, sometimes just a few minutes. You can set one window store-wide, or override it per product for items that need special handling — a print-on-demand shirt, for instance, might need a 10-minute window since production starts almost immediately. Step 3: See what the customer sees Once it’s configured, log into a test account and place a sample order. On the account page, you’ll see a live order timeline (Placed → Confirmed → Packed → Shipped → Delivered) with a Cancel button visible for as long as the order sits inside your configured window. After the window closes, the button disappears automatically — no manual policing required. Step 4: Test the full flow Cancel the test order as the customer would. You should see the order status update instantly, a cancellation confirmation email go out automatically, and the request appear in your store-owner dashboard under WooCommerce → Post-Purchase Hub for your records — even though no action was required from you. A quick checklist before you go live Cancellation window set (store-wide, plus any product overrides) Test order cancelled successfully as a customer Confirmation email branding checked Store-owner dashboard showing the test request That’s the whole setup. From here, customers handle their own cancellations within the window you’ve set, and you only see the ones that need a second look.