How to restrict a WordPress post by date for logged-in users
A step-by-step guide to locking WordPress content by date for logged-in users — the exact panel settings, what users see, and how to test it.
We make WordPress easier.
We make WordPress easier.
A step-by-step guide to locking WordPress content by date for logged-in users — the exact panel settings, what users see, and how to test it.
LearnDash is powerful — but it’s also $200/year and weeks of setup. Here’s an honest breakdown of when it’s worth it and when it’s complete overkill.
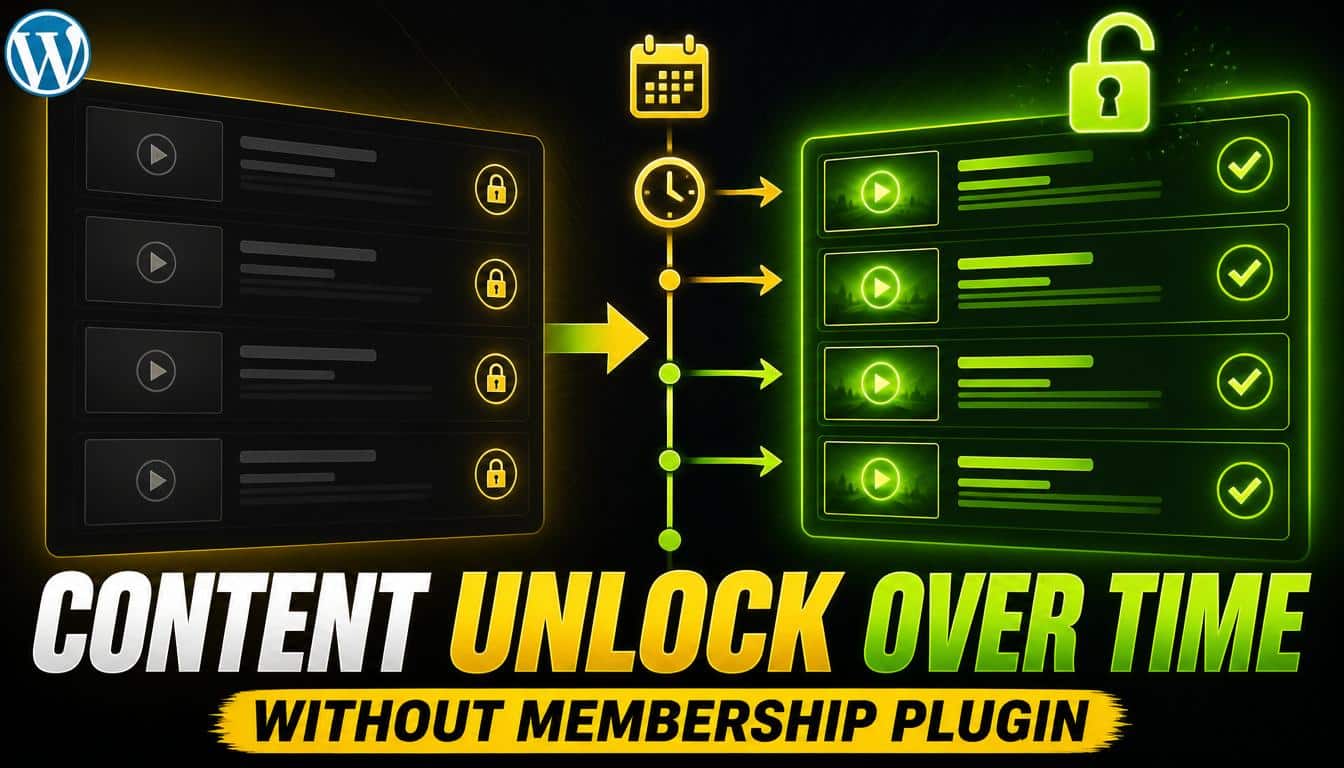
A complete walkthrough for setting up drip content on WordPress — every step numbered, no fluff. No LMS or membership plugin required.
MemberPress, LearnDash, Restrict Content Pro, WooCommerce Memberships, and a free lightweight pick — compared honestly by use case and price.
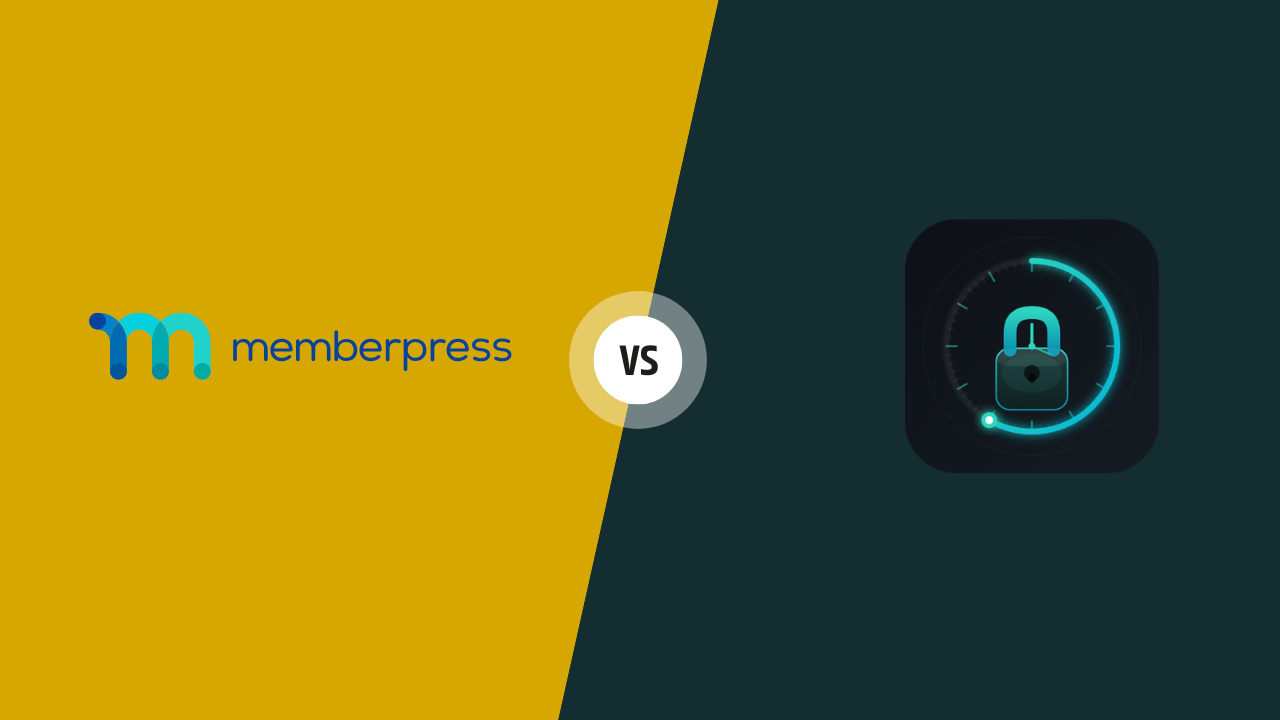
MemberPress is powerful — but $179/year is a lot when you only need drip content. Here’s when the free lightweight alternative is the smarter choice.
Will a content lock hurt your Google rankings? Here’s what crawlers actually see, when SEO impact is real, and how to keep it near zero.
Stop students from binging all your lessons on day one. Set up drip content on WordPress in under 15 minutes — no membership plugin needed.
A student emails “I’ve read everything already.” Here’s the psychology behind course binging — and how a simple time lock fixes it for good.
Content Time Lock is a WordPress plugin that hides the content of any post or page until a date and time you choose. When that moment arrives, the content becomes visible automatically — no action required from you or your students. Designed for course creators, membership sites, and anyone who needs to release content on a fixed schedule. Currently at version 1.1.0 · Tested up to WordPress 6.8.5 · PHP 7.4 or higher. Key Features Hides content until a scheduled unlock date — automatically revealed, no manual action needed. Displays a customisable message and optional countdown timer while content is locked. Restricts access by user role — lock for guests only, all logged-in users, or specific roles. Per-post overrides let you customise the locked screen independently of global settings. Central Time Locks dashboard gives you a summary of all locked and unlocked content at a glance. Optional Call-to-Action button directs users elsewhere while they wait. Lightweight, responsive, and compatible with any WordPress theme. Translation-ready (Loco Translate, WPML, PolyLang). Requirements WordPress 5.5 or higher PHP 7.4 or higher A modern browser (Chrome, Firefox, Safari, Edge) How to Install In your WordPress dashboard go to Plugins → Add New and search for Content Time Lock. Click Install Now, then Activate. Alternatively, download the ZIP from WordPress.org and upload via Plugins → Add New → Upload Plugin. After activation, navigate to Tools → Timed Content Locker → Global Settings to configure your defaults. Quick Start Install and activate the plugin. Go to Tools → Timed Content Locker → Global Settings and set your default locked message and countdown preference. Open any post or page, find the Time Lock Content panel in the sidebar, and check Enable Time Lock. Set the unlock date and time, choose who is restricted, and save. Done — the content will unlock automatically at the scheduled moment. Configuring Global Settings Navigate to Tools → Timed Content Locker → Global Settings. These settings apply to every locked post or page unless overridden at the individual post level. 5.1 Locked Message The message shown to restricted users. Supports plain text. Maximum 500 characters. Example: This lesson unlocks on the scheduled date. Check back soon! 5.2 Countdown Timer Toggle whether a countdown timer is shown alongside the locked message. The timer counts down to the exact unlock date and time set on each post. 5.3 Appearance Assign a custom CSS class to the locked placeholder. Default: tcl-locked-content. Use this to style the locked state to match your theme. Locking a Post or Page 6.1 Enabling a Time Lock Open any post or page in the block editor. In the right-hand sidebar, find the Time Lock Content panel and check Enable Time Lock. 6.2 Who Is Restricted All Logged In Users — all logged-in users and guests see the locked screen. Choose Specific Roles — restrict only selected user roles (e.g. Subscriber, Customer). Guest Users — only non-logged-in visitors are locked out. Note: Administrators always see the full content and cannot be restricted. 6.3 Unlock Date & Time Set the unlock date and time in the Time Lock Content panel and save the post. The time is based on your site’s timezone as set in Settings → General. Customising the Locked Screen Per Post Enable Override Global Settings on any post to set a custom locked message (up to 500 characters), toggle the countdown independently, and choose a different timer template. You can also add a Call-to-Action Button with custom label and URL to direct users elsewhere while they wait. Managing All Time Locks Navigate to Time Lock → All Time Locks for a central overview of every locked post and page. You’ll see summary counts and a Locked / Unlocked status badge for each item, making it easy to audit your whole site at a glance. What Your Students See When a restricted user visits a locked post, they see a lock icon, your custom message, and (if enabled) a live countdown timer ticking down to the unlock moment. As soon as the scheduled time passes, a page refresh reveals the full content with no intervention from you. Frequently Asked Questions Do I need coding skills to use this plugin? No. Everything is configured through the block editor sidebar and the Global Settings screen — no code required. Does it work with any WordPress theme? Yes. The plugin is designed to work with any theme that follows WordPress coding guidelines. Is the plugin responsive? Yes. The locked placeholder and countdown timer are fully responsive and display correctly on all screen sizes. Can I translate the plugin? Yes. All user-facing text is translation-ready. Use Loco Translate, WPML, or PolyLang to translate messages into any language. Can administrators be locked out? No. Administrators always see the full content regardless of the time lock settings. Limitations Content is locked at the post/page level only — you cannot lock individual blocks within a post. The unlock date cannot be set in the past; attempting this will leave content locked. Countdown accuracy depends on the browser clock of the visiting user. The plugin does not currently support recurring schedules — each post has a single unlock date. Getting Help Have a question or found a bug? Head to the support forum on WordPress.org or get in touch via the WPMake contact page. We typically respond within 1–2 business days.
WordPress doesn’t include native avatar uploads — it relies on Gravatar, which forces every user to create an external account just to show a profile picture. The Advanced User Avatar plugin removes that dependency entirely. Users can upload, crop, and display a custom profile picture directly from their device — no third‑party account needed. Currently at version 1.2.1 · 200+ active installs · 5/5 stars · Tested up to WordPress 7.0 How to Install In your WordPress dashboard go to Plugins → Add New and search for Advanced User Avatar. Click Install Now, then Activate. Alternatively, download the ZIP from WordPress.org and upload it via Plugins → Add New → Upload Plugin. Avatar Upload Interface Drop the shortcode [wpmake_advance_user_avatar_upload] on any page — or use the dedicated Gutenberg block — to show the upload form. Users can pick a file from their device, capture a photo from their webcam, or remove an existing avatar at any time. Built-in Image Cropping After a user selects an image the plugin immediately opens an interactive crop interface. They can drag, zoom, and adjust the crop area before saving, so every avatar fits the display area perfectly — no external editor required. Displaying the Avatar Use the shortcode [wpmake_advance_user_avatar] or the Gutenberg block to show the uploaded avatar anywhere on your site. The plugin automatically generates multiple image sizes so the avatar renders sharply in every context — comments, author bios, profile pages, and more. Global Settings Navigate to Users → User Avatar to configure the plugin site‑wide. Every option is a simple toggle or text field — no coding needed. Store avatar in thumbnail sizes — saves the avatar at every registered image size so it looks correct across your entire theme. Max Avatar Size Allowed — set a KB ceiling (e.g. 20 KB); the plugin rejects oversized files automatically and tells the user why. Allowed File Types — choose JPG and JPEG (free) or add GIF and PNG with PRO. Capture Picture — let users take a photo directly through their device webcam. Cropping Interface — toggle the built‑in crop tool on or off. Uploaded Image Size — lock uploaded images to a fixed width × height to keep avatars visually consistent across the site. File Validation & Error Handling The plugin validates the file type and size before accepting any upload. If a user submits an unsupported format or a file that exceeds the size limit, a clear inline error message explains exactly what to change — reducing support requests. WooCommerce Integration Added in version 1.1.0, the WooCommerce integration places the avatar uploader directly inside My Account → Account Details so customers can update their profile picture without leaving the store. The uploaded avatar is also displayed in the My Account Dashboard widget automatically. BuddyPress Integration Also added in version 1.1.0, the BuddyPress integration replaces the default avatar uploader in the member area with the Advanced User Avatar interface. Custom avatars automatically appear across all BuddyPress member pages — no extra shortcodes or configuration required. Summary Advanced User Avatar is a lightweight, no‑code replacement for Gravatar that keeps your users’ profile pictures self‑hosted on your own WordPress install. It works with any well‑coded theme, is fully responsive across all screen sizes, and integrates seamlessly with WooCommerce and BuddyPress. Between the built‑in cropping tool, webcam capture, strict file validation, and automatic thumbnail generation, it covers everything a modern WordPress site needs for a complete custom avatar experience. Have questions? Get in touch.