WPMake

How to Brand Your Post-Purchase Order Emails Without Touching Code

Generic WooCommerce emails look like generic WooCommerce emails — plain, unbranded, easy to mistake for spam. Post-Purchase Hub lets you fix that without writing a line of code. Why this matters more than it seems Order status emails are some of the highest-open-rate messages a store sends, because customers are actively waiting for them. A branded, clear email builds trust; a generic one just gets skimmed or ignored. Where to edit templates Go to WooCommerce → Post-Purchase Hub → Notifications. Each order status has its own template — confirmation, shipped, cancelled, return approved — editable independently. Adding your logo and colors Upload your logo once and it applies across every template. The accent color field controls buttons and the order-status highlight inside the email, so it’s worth matching to your site’s primary brand color. Personalizing the copy Merge tags like customer first name, order number, and estimated delivery date can be dropped into any template. A short, specific line (“Hey Sam, your order is on its way!”) reads far better than a form-letter greeting. Testing before you go live Use the built-in “Send test email” button to preview exactly what customers will see, including how it renders on mobile. Check this before publishing any change — email clients are notoriously inconsistent with formatting.

Setting Cancellation Windows and Return Policies That Actually Work

Your cancellation window and return policy are the two settings that shape almost everything customers experience with Post-Purchase Hub. Here’s how to set both well. Choosing a cancellation window by product type There’s no single right answer — it depends on how fast you fulfill. A few starting points: Standard physical goods: 30 minutes to 24 hours Perishables or made-to-order items: 5 to 15 minutes Digital downloads: usually no cancellation window at all, since delivery is instant Print-on-demand: 10 to 30 minutes, since production starts almost immediately Store-wide default vs. per-product override Set one sensible default for your whole catalog, then override it on individual products that need special handling. This keeps the settings screen simple while still covering edge cases like fast-turnaround custom orders. Writing a return policy people actually read Skip the legal boilerplate. State the return window in days, what condition items need to be in, and who pays return shipping — in that order, in plain language. Customers skim; a policy they can read in ten seconds gets followed more often than one buried in a wall of text. Syncing to your fulfillment workflow Every return request logs to your store-owner dashboard the moment it’s submitted, with the order details attached — so whoever handles fulfillment doesn’t need a separate handoff or spreadsheet to track what’s pending.

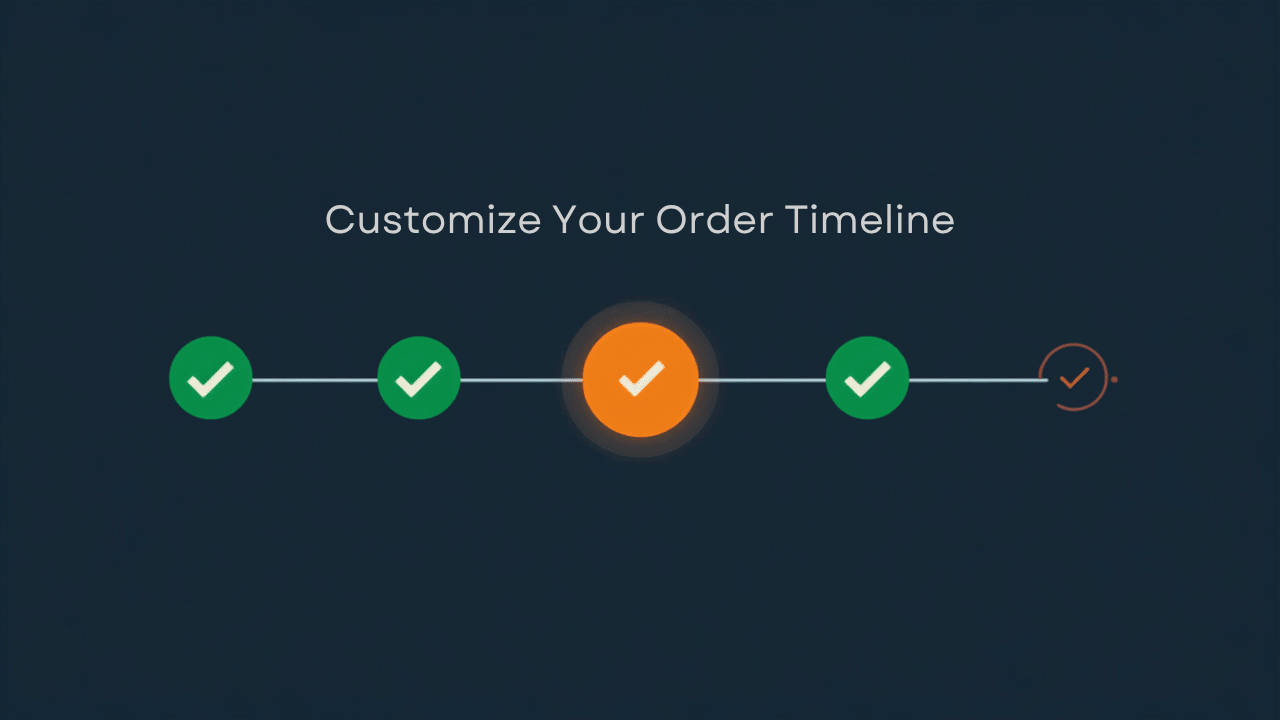
How to Customize Your WooCommerce Order Status Timeline (Step-by-Step)

WooCommerce’s default order status is a plain text list. Post-Purchase Hub replaces it with a visual timeline your customers can actually read at a glance — and you can customize every part of it. Where the timeline shows up By default, the timeline appears on the customer’s account page under each order, and again on the order confirmation screen right after checkout. Both use the same settings, so you only configure it once. Renaming and reordering steps The default steps are Placed, Confirmed, Packed, Shipped, and Delivered. If your fulfillment process looks different — say you have a “Quality Check” step, or skip “Packed” for digital goods — you can rename, remove, or reorder any step from the settings screen without touching code. Matching your store’s branding The timeline’s accent colors (completed, current, upcoming) are all adjustable, so it can sit naturally inside your theme instead of looking like a bolted-on plugin. Most stores match “completed” to their brand’s primary color and leave “current” as a warm accent so it’s easy to spot at a glance. Theme compatibility The timeline is built to inherit your active theme’s fonts and spacing automatically. If you’re using a heavily customized theme and something looks off, the settings screen includes a CSS override field for quick manual fixes. Once it’s styled the way you want, customers stop guessing where their order stands — and stop emailing you to ask.

Post-Purchase Hub Installation Guide: From Zip File to Live in 5 Minutes

A clean install is the foundation for everything else Post-Purchase Hub does, and there is genuinely not much to it: upload, activate, walk the seven-step wizard, place one test order. The wizard itself claims about two minutes, which is roughly right if you already know your shipping times. This guide covers the whole path from zip file to a live order timeline, with the exact screens and settings you will see along the way. What you need before you start It supports both High-Performance Order Storage and legacy post storage, so you do not need to change how WooCommerce stores orders first. Step 1: Install the plugin Two routes, both from Plugins → Add New. Search for WPMake Post-Purchase Hub and click Install Now, or choose Upload Plugin and select the zip. WordPress handles the extraction itself — no FTP, no unzipping, no file manager. Step 2: Activate Click Activate once the install finishes. Activation on its own changes nothing on your storefront — a notice appears pointing at the setup wizard, and until you finish that wizard your customers see exactly what they saw before. That is worth knowing if you are installing on a live store mid-morning: there is no window where the site looks half-configured. Step 3: Run the setup wizard Click Run the setup wizard from the notice, or start it from WooCommerce → Post-Purchase Hub. It opens with a question rather than a settings form, and your answer decides which of the remaining steps you are shown: The full path runs Welcome → Statuses → Delivery → Tracking → Actions → Display → Finish. Every step has a Skip this step link, and a skipped step keeps a sensible default you can change later on the settings screen. Two steps are worth slowing down for. Statuses is where each WooCommerce status you use — including custom ones added by other plugins — is mapped onto a stage the customer sees, and where you mark internal statuses as not shown. Delivery is where handling time and per-shipping-method transit times go; skip it and customers simply see no estimate, which is honest but not very useful. The timeline walkthrough covers both screens in detail. Step 4: Choose how it appears The Display step is the one that decides how much of your theme is involved, and the safe answer is the default: Stay additive unless you have a specific reason not to. The preview underneath is built from an actual order in your store, so what you see is what a customer would have seen. Then press Finish and go live. That is the moment customers start seeing timelines. Step 5: Find your settings Everything afterwards lives at WooCommerce → Post-Purchase Hub, with six tabs down the left and a Search settings… box that filters as you type: Read the Status panel before you walk away. Nothing in it is a setting — it is what the other tabs have added up to. It states whether setup is complete and your order pages are live, whether a tracking plugin was detected, whether an invoice plugin was found, whether any template conflicts exist, when the daily cleanup next runs, and whether the database is up to date. Step 6: Place a test order Log in as a test customer, place a small order, and open My Account → Orders. The order table gains a Progress column showing the current stage and its timestamp, and only the actions that actually apply to each order. Open the order and you get the full Order progress list — Placed, Confirmed, Packed, Shipped, Out for delivery, Delivered — each marked Done, In progress or Not yet, with an estimated delivery range underneath. Then move the order along a status from the admin and watch the timeline follow. One thing that surprises people: orders placed before you installed the plugin show their stages without dates. WooCommerce does not keep a history of status changes, so the plugin can only record them from the moment it is active, and it shows an honest blank rather than an invented date. Run wp wpmphub backfill-timeline from WP-CLI to fill in what can be derived from the dates WooCommerce does store. Optional: guest order lookup If a lot of your customers check out without an account, enable it under Settings → Guest Access, then put the [wpmphub_order_lookup] shortcode on a page and link it from your footer or your order emails. It is off by default, and it is built so that guessing reveals nothing: the customer enters an order number and billing email, and the signed link is emailed to the address already on the order, never to the address typed into the form. It is rate limited, with a link lifetime you control. First-run checklist Frequently asked questions Will this break my theme’s My Account page? It is designed not to. Additive mode adds sections through WooCommerce’s own hooks and leaves your templates alone. Full replacement is opt-in, and the plugin checks first whether your theme has customised those templates — if it has, replacement stays off rather than producing a broken page. Do I need a tracking plugin for it to be useful? No. Without one, customers see a delivery estimate worked out from your handling and transit times. If you do run Advanced Shipment Tracking or WooCommerce Shipment Tracking, real tracking data replaces the estimate automatically and you do not have to do anything. What happens to my data if I delete the plugin? Nothing is deleted unless you ask for it. Settings and request history stay in place, so reinstalling picks up where you left off. If you would rather it cleaned up after itself, switch on Delete all data when uninstalling under Settings → Advanced first — that one has no undo. Does it send anything to an external server? No. The plugin makes no outbound HTTP requests of any kind — no telemetry, no update pings, no remote fonts

Cutting “Where’s My Order” Emails During the Holiday Rush

Every December, the same message arrives dozens of times a day in slightly different words: hi, just checking on my order? It is the most common support email in ecommerce, it spikes exactly when you have the least time, and — this is the frustrating part — the answer is already sitting in your database. Here is how to make customers stop asking, without hiring anyone or writing a single reply. Why WISMO emails spike every holiday season Three things happen at once. Carriers get overloaded, so genuine delivery times stretch. Your own fulfilment slows, because volume is up and your pickers are the same people they were in October. And customer patience shortens, because a gift has a deadline attached in a way a normal purchase does not. The result is that an order which generated no questions in September generates three in December. The customer is not being difficult; they are managing a deadline with no information. A confirmation email from eleven days ago does not answer the question they are asking, and your order page — a status word and a table — does not either. So they write to you. And because you are busy, you reply slowly, which produces a second email asking whether you got the first one. Give them a live answer instead of a static one The fix is structural: put the answer where the customer already looks. An Order progress list on the order page shows every stage — Placed, Confirmed, Packed, Shipped, Out for delivery, Delivered — each marked Done, In progress or Not yet, with the real timestamp where one was recorded and an estimated delivery range underneath. It updates as the order moves, with no reply from anyone. The timeline in Post-Purchase Hub is built from your own WooCommerce statuses, including custom ones added by fulfilment plugins, so it reflects what is genuinely happening rather than a generic five-step template. The My Account order list also gains a Progress column, which matters more in December than any other month: a customer with four open orders sees all four states at once instead of writing to ask about each. Get the estimate right before the rush, not during it A timeline with no delivery estimate answers half the question. Under Settings → Timeline → Delivery estimates, the estimate is calculated from Handling time in business days and a Transit time per shipping method range, checked against the Working days card below — so a Friday-afternoon order does not promise Saturday delivery, and a closure does not quietly vanish from the maths. Three things to do before the season starts: If you run Advanced Shipment Tracking or WooCommerce Shipment Tracking, real tracking data replaces the estimate automatically as soon as a number exists, so the page keeps improving as the order progresses. Set expectations before they ask The page answers customers who go looking. Emails reach the ones who do not — but be realistic about what WooCommerce actually sends. There is no “shipped” notification in core; Processing order and Completed order are what you have, which makes their wording matter more than the defaults suggest. You do not need another tool for this: these are ordinary WooCommerce emails, so a pass through your email settings before the season is enough. Two changes matter most. Put {order_number} in the subject line, since customers with several open orders triage from the inbox list. And put a link to the order page in the footer text, so every email you have ever sent doubles as a route back to the live answer. Handle the ones that turn into cancellations Some WISMO messages are really cancellation attempts — a gift that will now arrive too late is no longer wanted. Those are better handled as a structured cancellation request than an email thread: the request arrives attached to the order with a reason, and you approve or decline it from one queue at WooCommerce → Requests. During a busy week that is the difference between fifteen minutes and an afternoon. It is worth reviewing your cancellation rules before the season for the same reason you review handling time. What works at normal volume is not always what works at four times the volume — particularly Response time you promise, which is shown to the customer at the moment they submit. What to expect This does not take support volume to zero, and any tool that claims it will is selling something. It removes the single most common message, which in most stores is a large share of everything arriving during December — leaving your inbox for the ones that genuinely need a person: the damaged parcel, the wrong address, the delivery that never came. That is the honest version of the win. The same information, delivered without a ticket, for the customers who just wanted to know where their order was.