
Install and activate #
- Go to Plugins → Add New and search for Advanced User Avatar, or upload the zip under Plugins → Add New → Upload Plugin.
- Click Activate.
- Open Users → Users Avatar. The settings are there, not under Settings.
The plugin needs WordPress 6.0 or newer and PHP 7.4 or newer. Nothing else is required — WooCommerce, BuddyPress, WP-Members and Better Messages are optional integrations, not dependencies.
Activation is enough for avatars to start working: any photo a user already has, or sets from their profile screen, appears site-wide immediately. Placing the uploader is only about giving people a front-end page on which to change their own picture.
Option 1: the block #
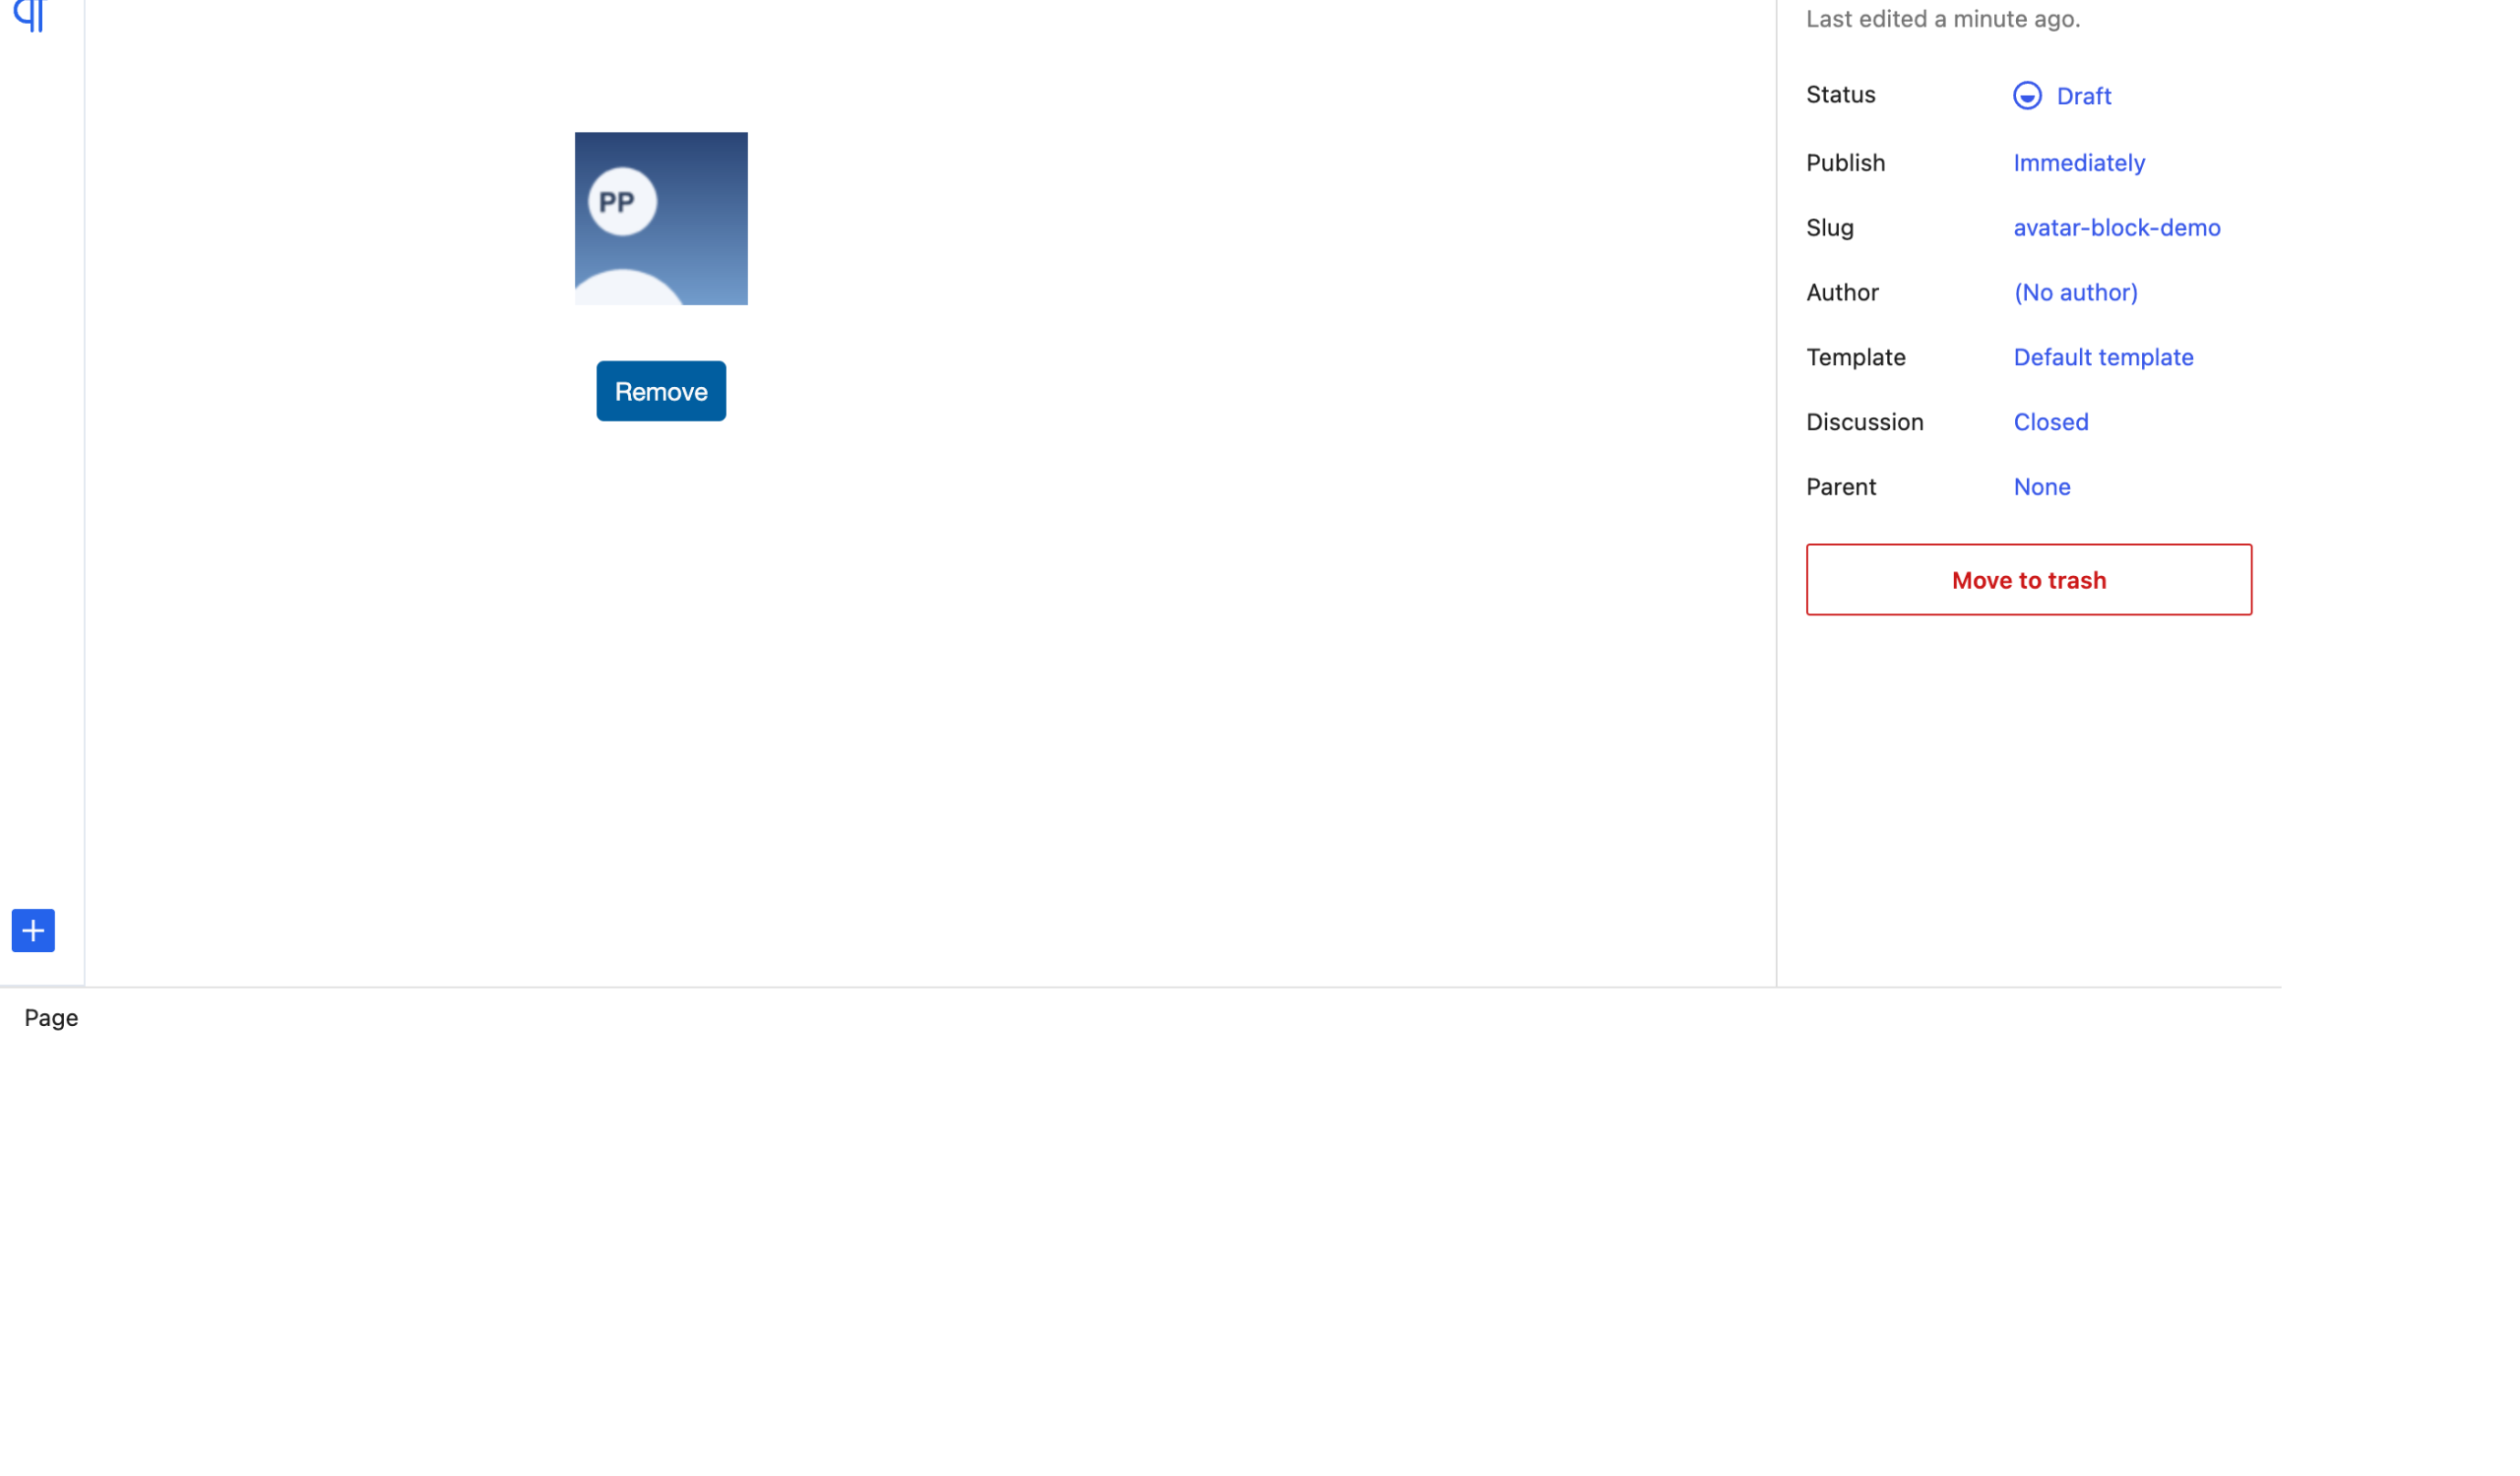
Edit any page, click the inserter (+), search for Advanced User Avatar, and insert it. The block renders the real widget in the editor, so you can see what your users will get.
Option 2: the shortcodes #
Two shortcodes work anywhere shortcodes do — pages, posts, widgets and most page builders.
   the full upload form
          the current user's avatar, display only
Both accept attributes for size and shape, covered in Styling the uploader and sizing avatars.
Option 3: nowhere at all #
Every user can set their own picture at Users → Profile in the admin without any placement, and administrators can set one for somebody else from the Manage Avatars tab. On a site whose users never see the front-end dashboard, that may be all you need.
If you run WooCommerce, switch on the WooCommerce integration instead: the uploader is added to the Account details page for you, with no shortcode to place.
Who can upload #
The uploader only renders for a logged-in user, and it only ever changes that person’s own picture. A logged-out visitor sees nothing at all — not an empty widget, and none of the plugin’s scripts or styles.


