
Everything the plugin can be configured to do lives on one screen: Users → Users Avatar. It has two tabs — Settings and Manage Avatars — and the version number in the top right corner tells you which release you are looking at.
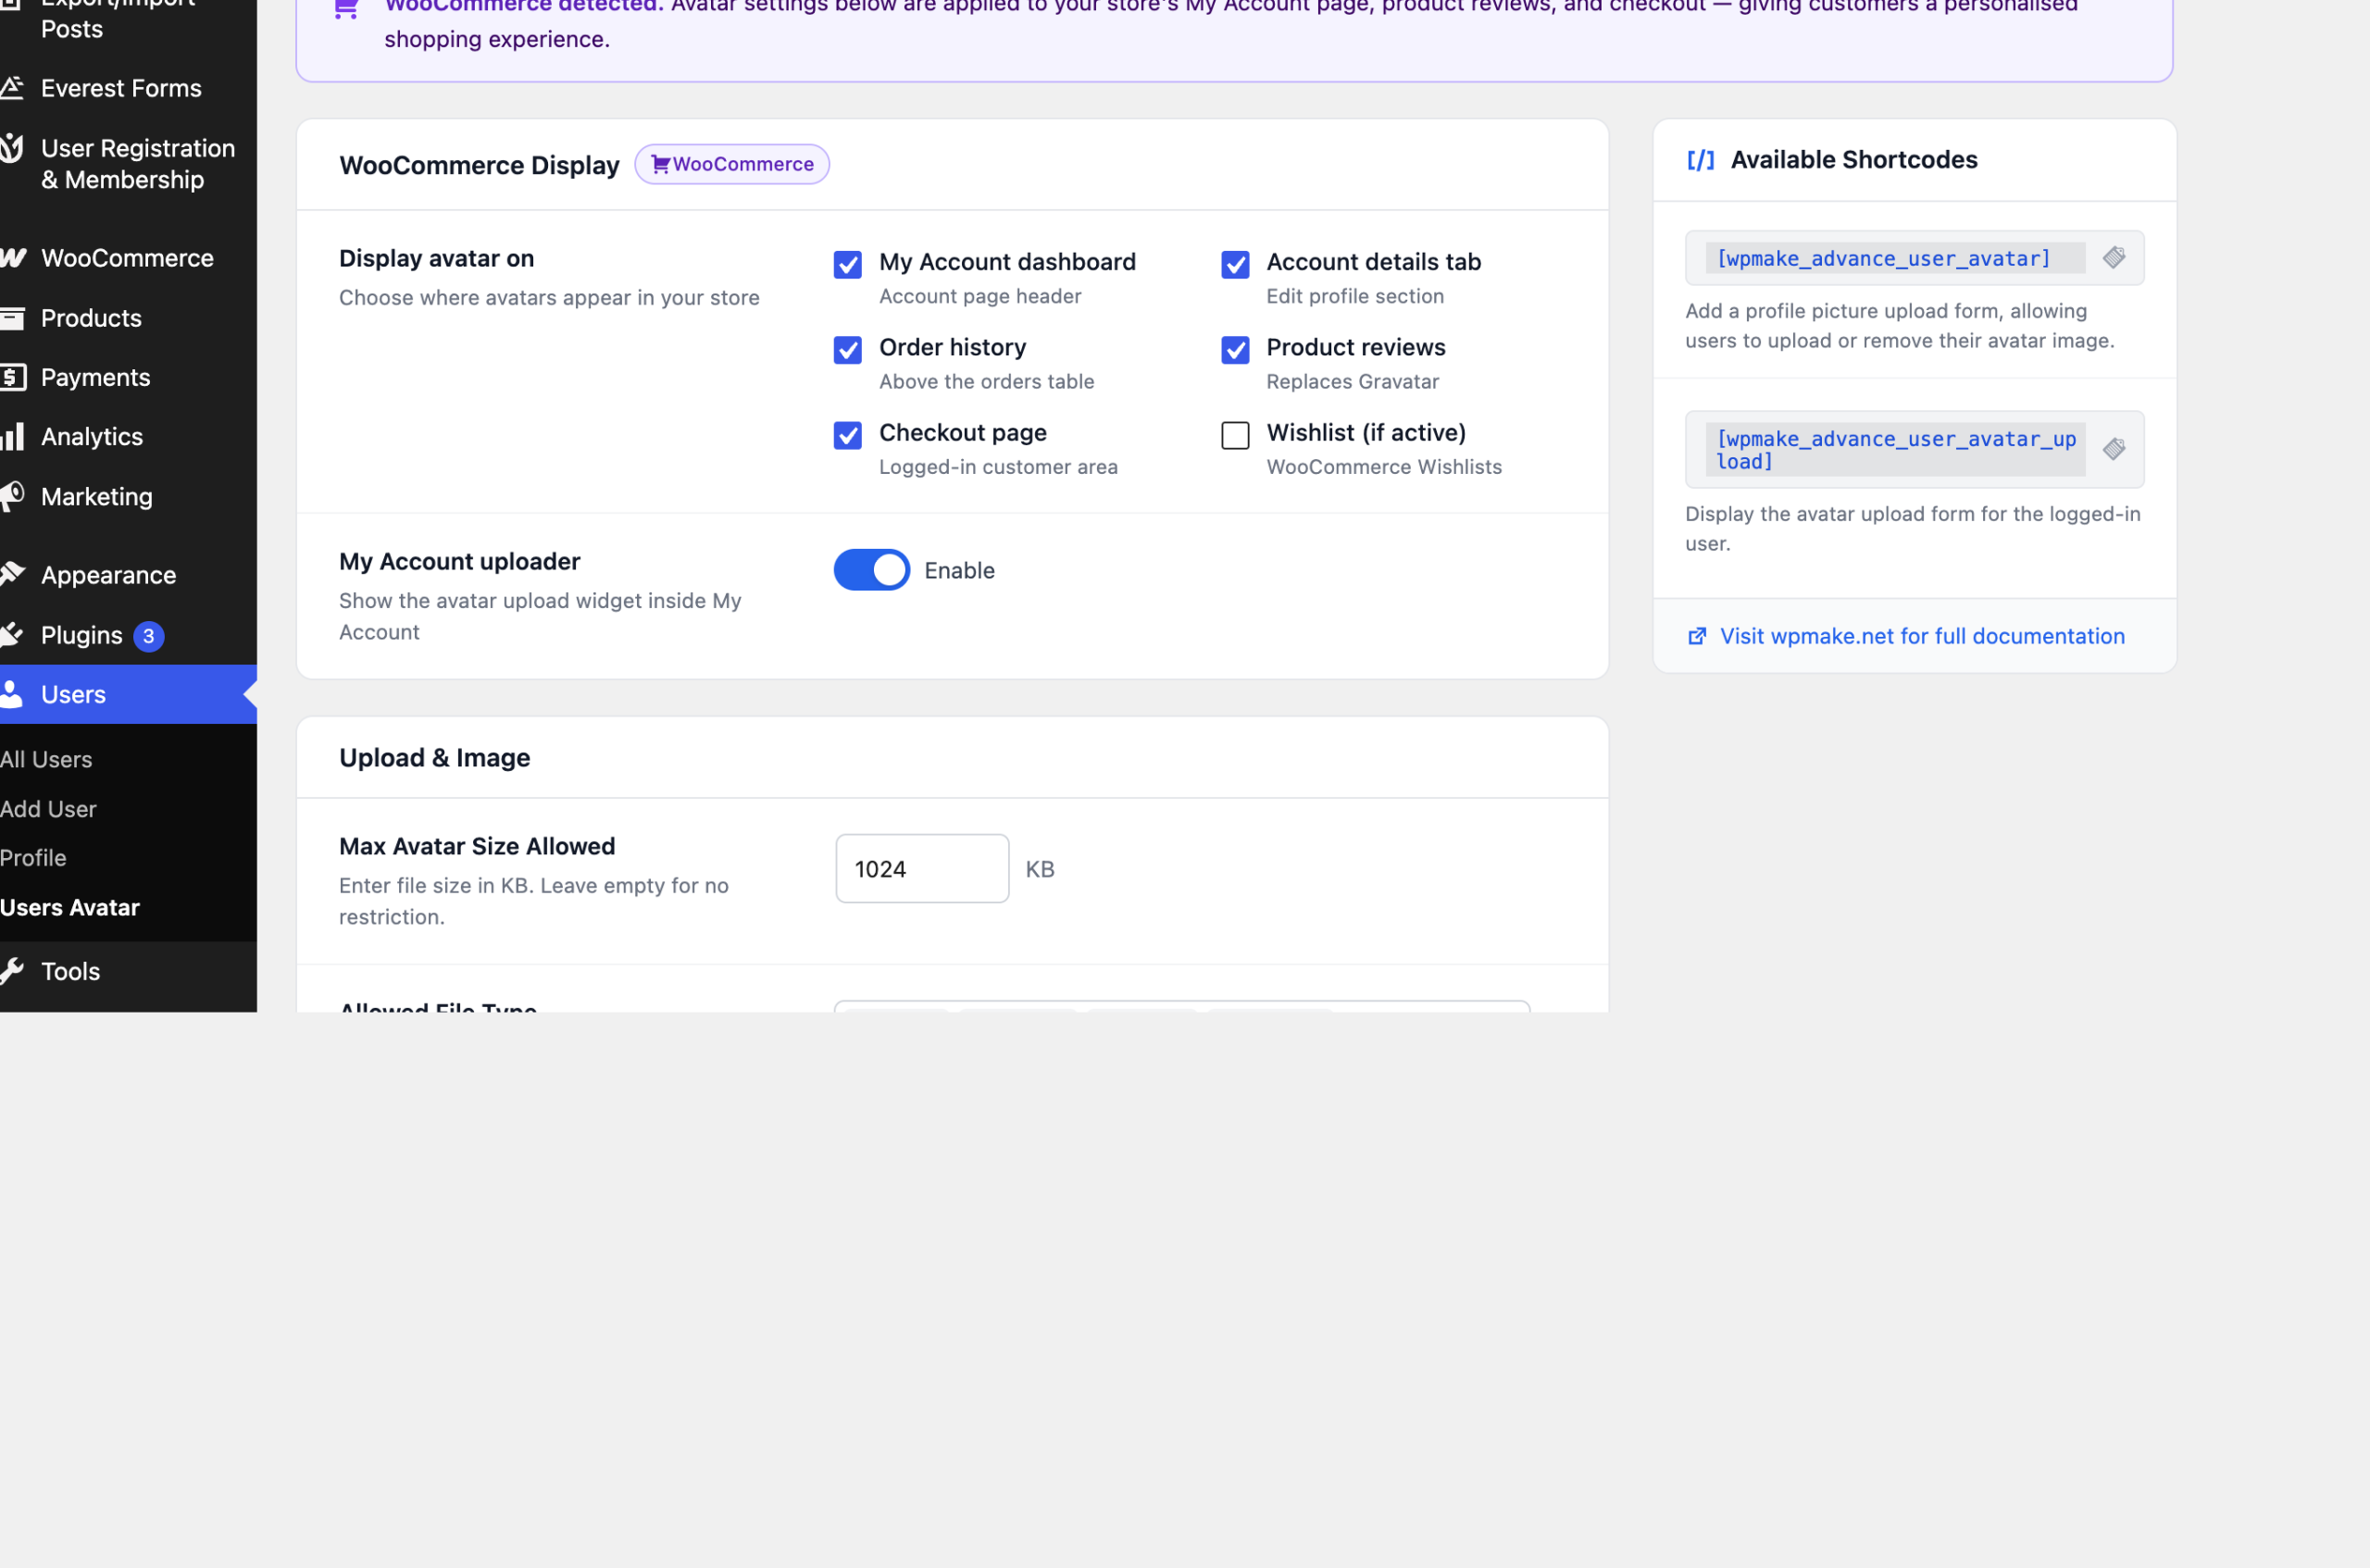
The five sections #
- WooCommerce Display — which parts of your store show a customer’s photo, and whether the uploader is added to My Account. Only useful with WooCommerce active; the section is shown greyed out otherwise.
- Upload & Image — what may be uploaded and at what size, including the smaller variants used by small avatars.
- Capture Picture — the webcam option.
- Integrations — BuddyPress and WP-Members.
- Advanced — one setting, about what happens to your users’ photos if the plugin is ever deleted.
Nothing is saved until you press Save Changes at the bottom.
The Manage Avatars tab #
The second tab lists your users with their current picture, and lets you set or clear one on somebody’s behalf. It is covered in Managing avatars for other people.
The tab is only offered to people who can edit other users — an administrator on a single site. On a multisite network it appears only for super administrators, because an avatar is shared across the whole network.
Where the files go #
Photos uploaded through the widget are stored in wp-content/uploads/wpmake-advance-user-avatar/ and registered in your media library like any other attachment. Settings live in a single option row, and each user’s avatar is a reference to an attachment ID in their user profile.


