
Users can always set their own picture. When you need to do it for somebody — a staff photo, a customer who cannot work out the uploader, a batch of accounts imported without photos — use the Manage Avatars tab at Users → Users Avatar.
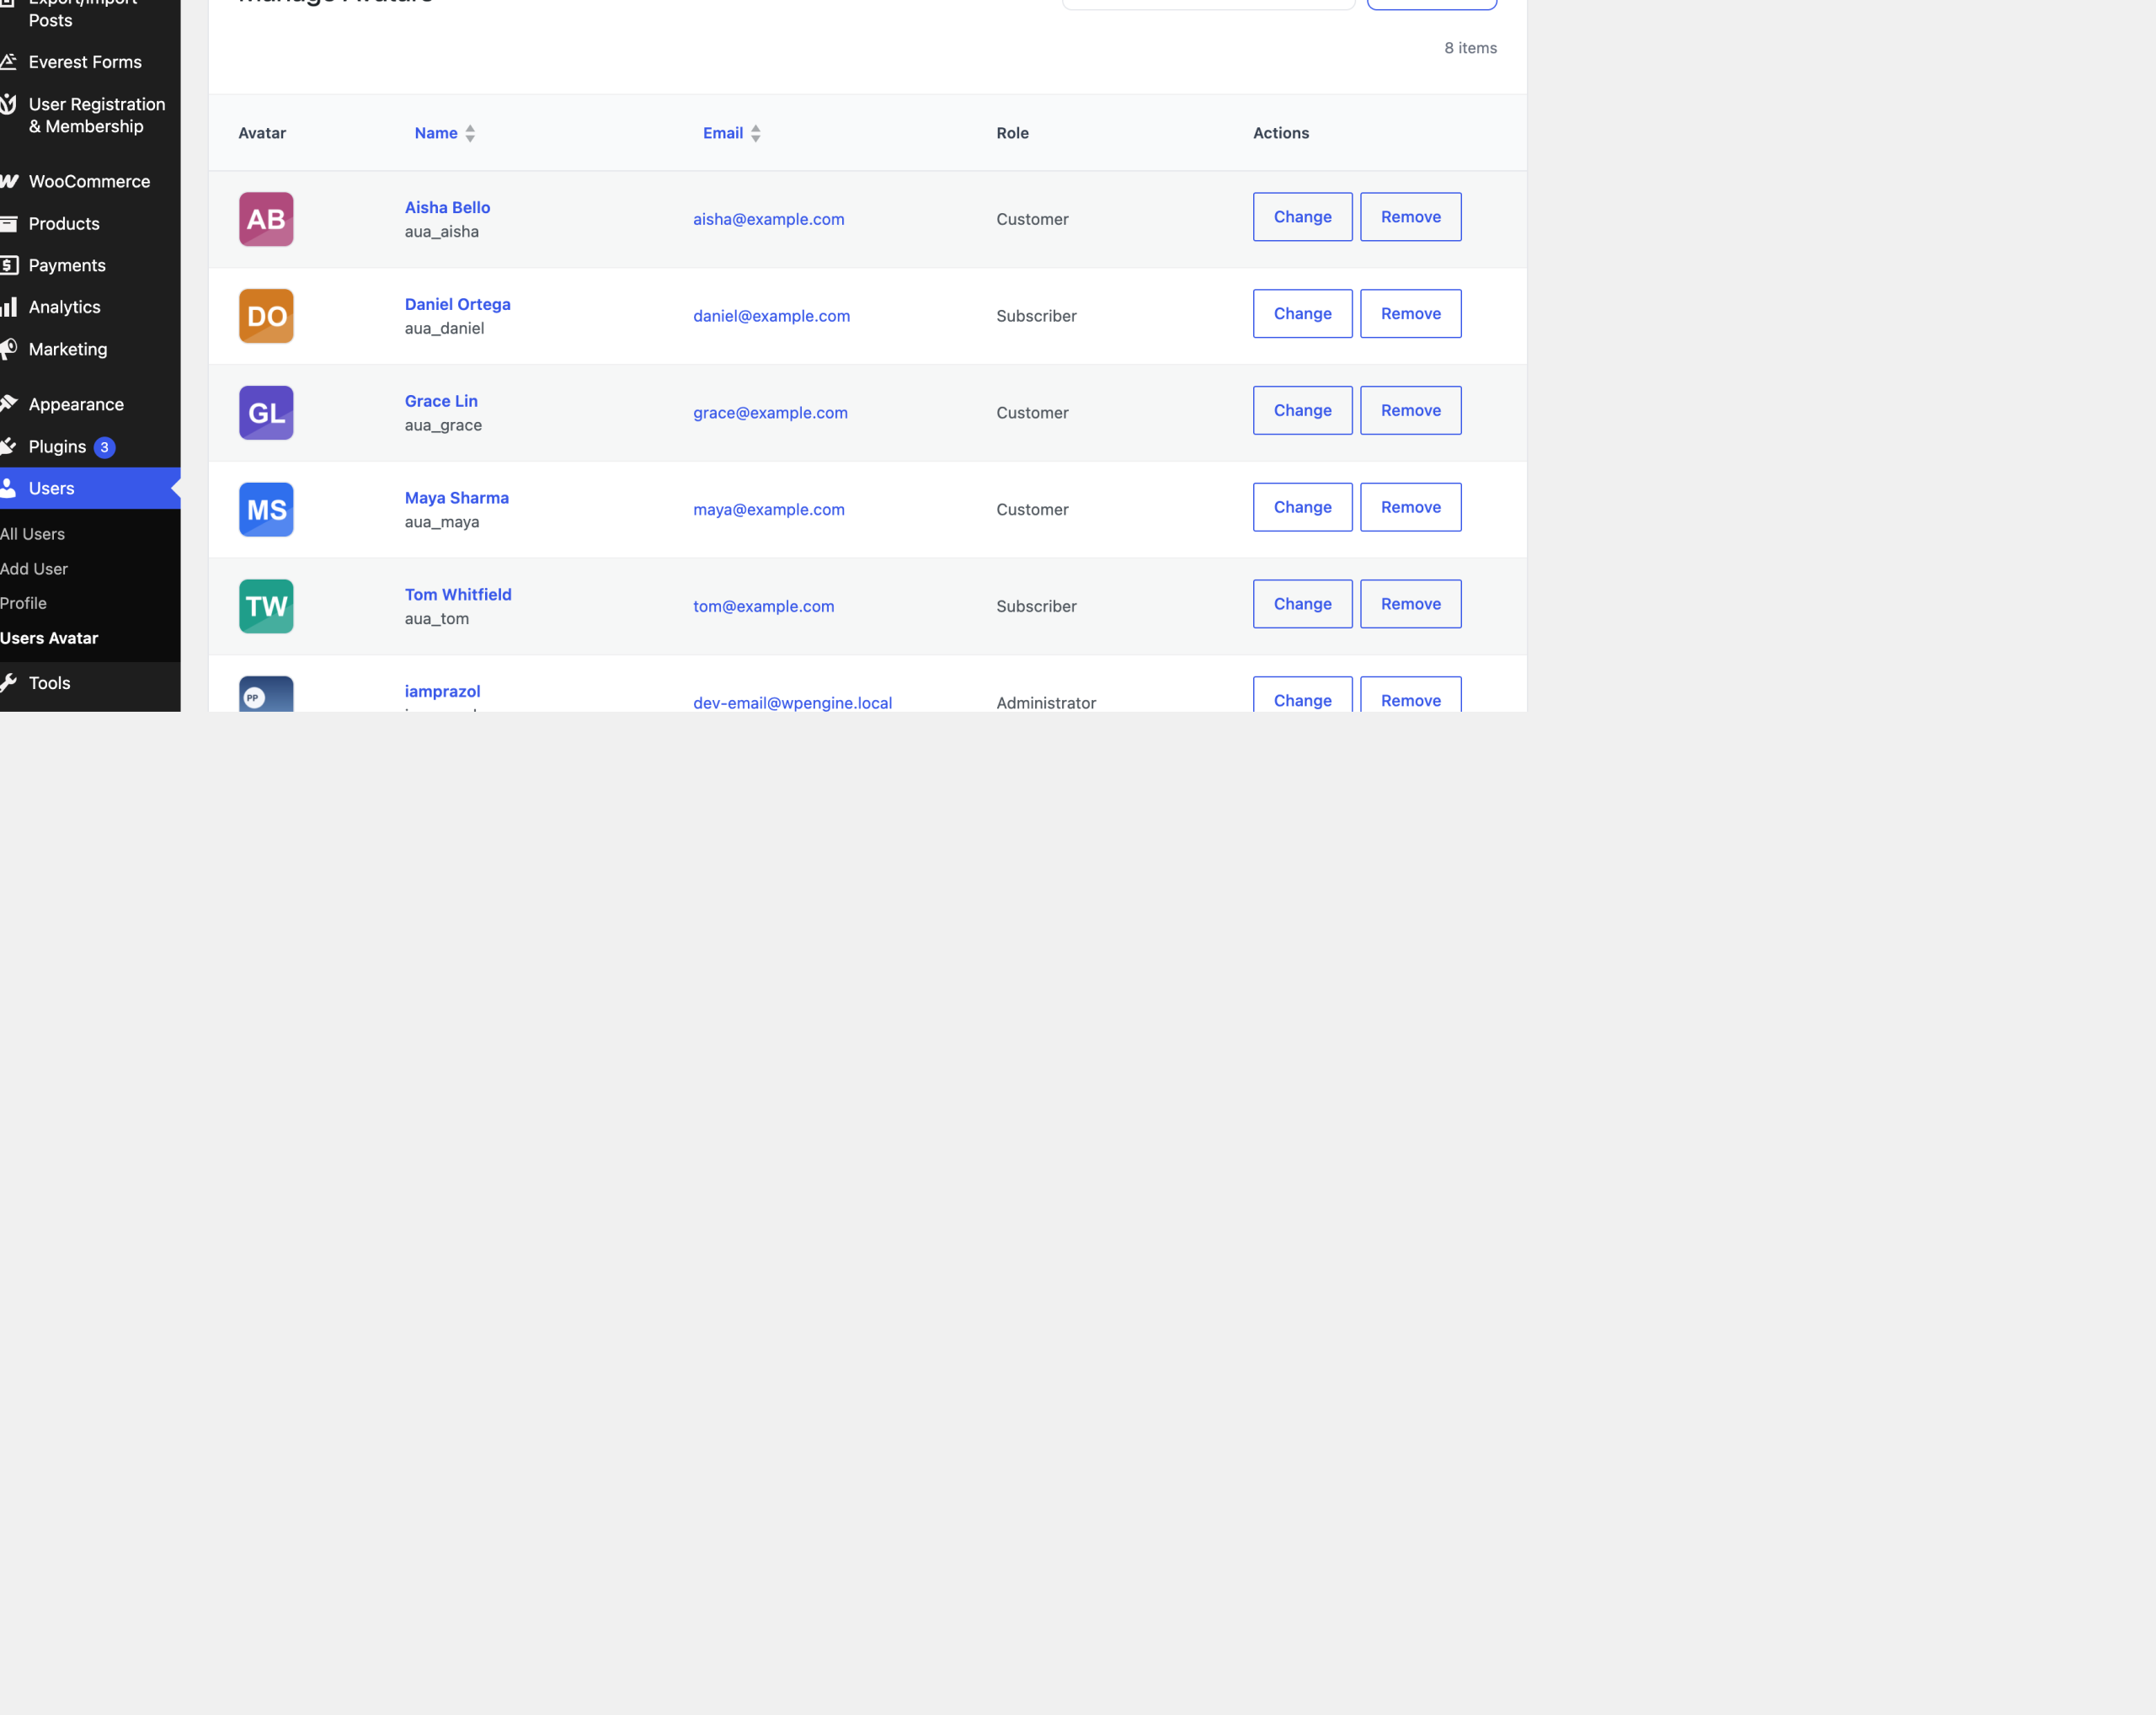
The list #
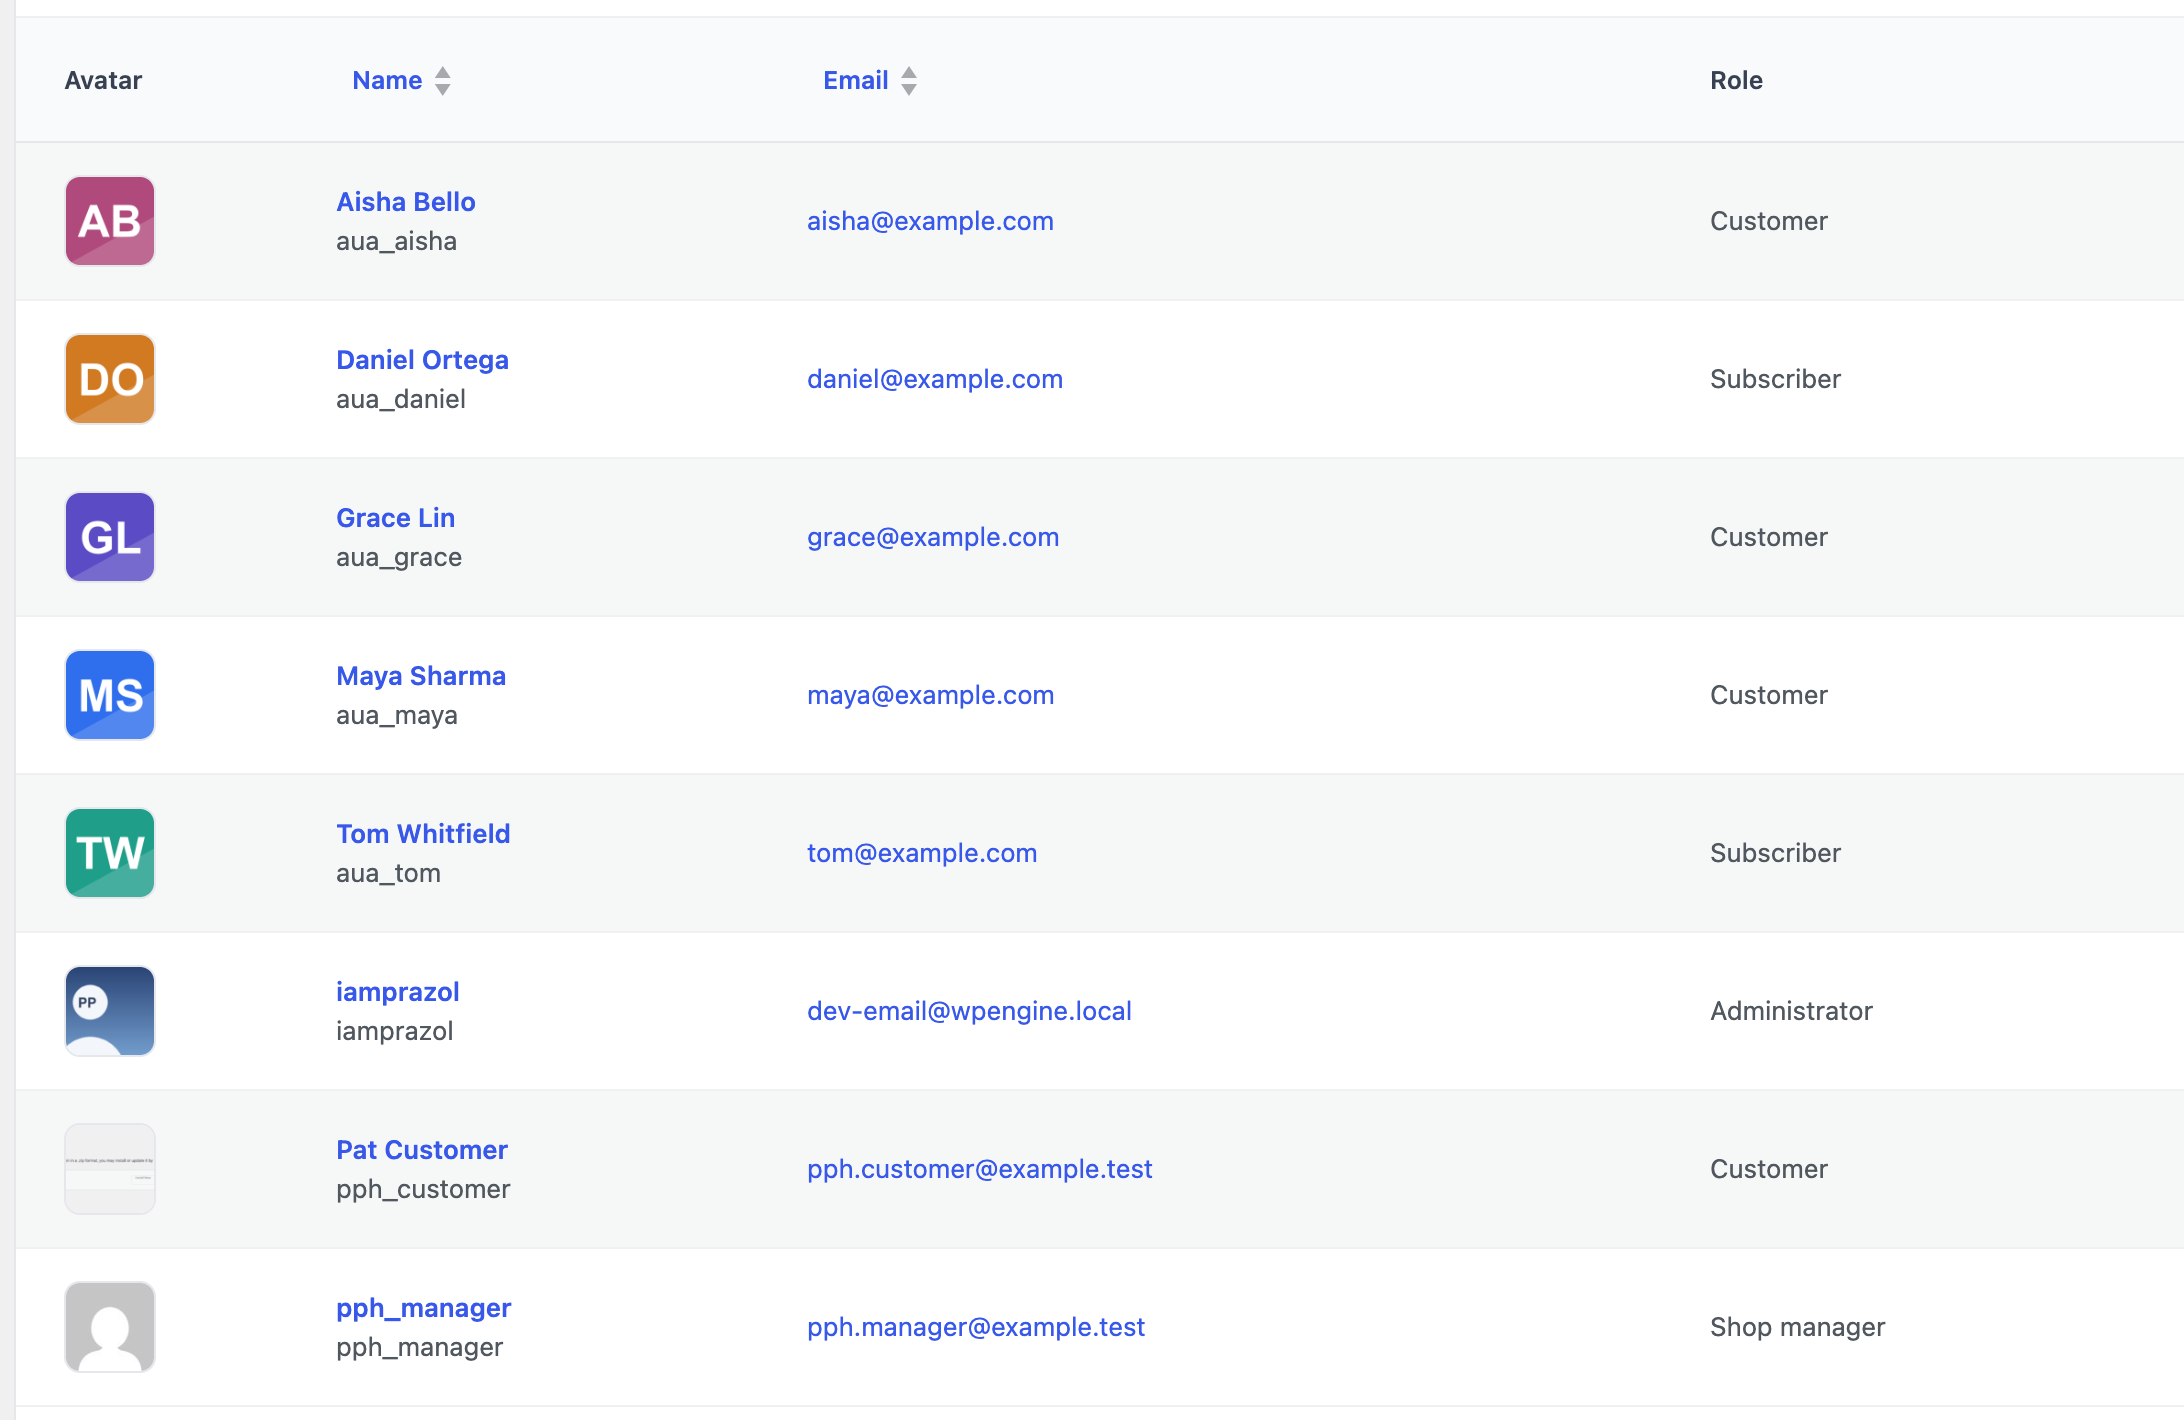
One row per user, showing their current avatar, name, username, email address and role. Sort by name or email by clicking the column heading, search by name, username or email with the box above the table, and change how many rows you see at a time under Screen Options.
Setting somebody’s photo #
- Click Change on their row. The WordPress media library opens.
- Pick an image already in the library, or upload one from your computer in the Upload files tab.
- Click Use this picture. The row updates without reloading the page.
There is no crop step here: you are choosing an existing image, so crop it in the media library first if it needs it. Any image in the library can be used, and the same one can serve several users.
Clearing somebody’s photo #
Click Remove on their row and confirm. The link between that user and the image is cleared, and they fall back to Gravatar. The file stays in your media library.

Who can do this #
Only people who can edit the user in question — in practice an administrator. A row you are not allowed to change says so instead of offering buttons, and the tab itself is hidden from anybody who could not use it.
On a multisite network, avatars are network-wide: one photo per person, shown on every site they belong to. Changing somebody’s avatar therefore changes how they appear on sites you may have no rights over, so this tab is limited to super administrators. Everybody can still set their own.


